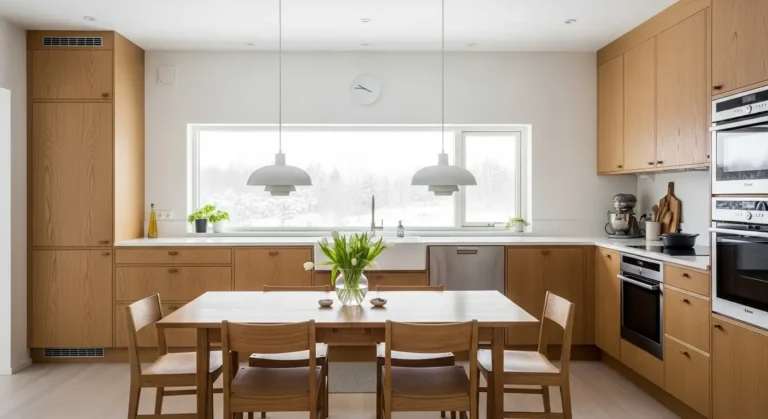
A kitchen renovation can totally change the heart of your home. It’s amazing how much better the space feels when it finally fits your family’s needs and style.
Maybe you’re stuck with old cabinets, a frustrating layout, or tired appliances. A well-planned renovation breathes new life into one of your most-used rooms.
Kitchen renovations usually cost anywhere from $15,000 to $50,000. The price depends on what you want to change, the materials you pick, and whether you hire pros or do some of the work yourself.
It’s a big investment, but honestly, it often pays off. Homeowners get more storage and a smoother workflow by updating their kitchen design.
Planning matters—a lot. Every choice, from layout to materials, impacts how things turn out and how much you spend.
I’ve found that professional kitchen renovation companies in Johannesburg can really help. They guide you through the process and make sure the installation is solid.
Key Takeaways
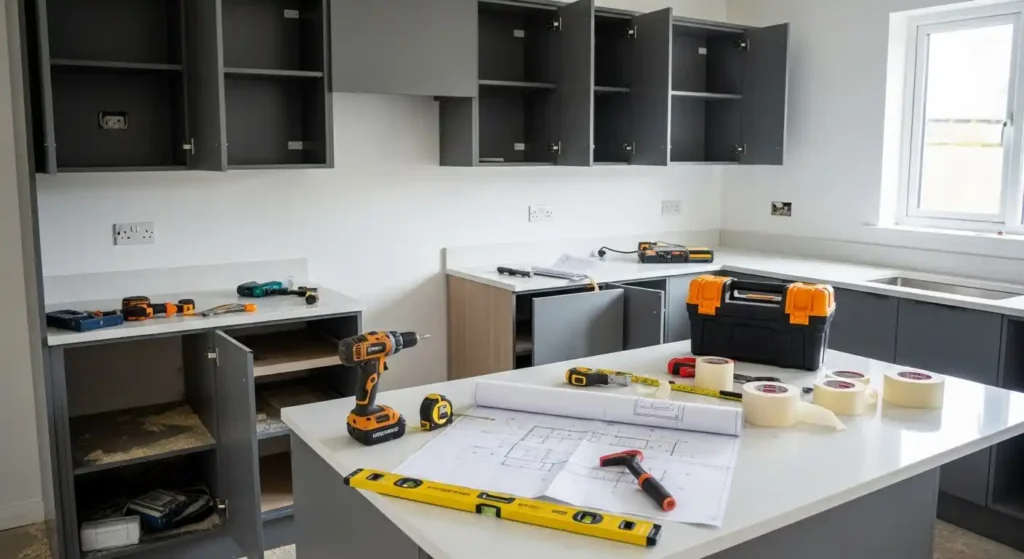
Planning a Kitchen Renovation
Successful kitchen renovations start with clear goals and realistic budgets. Smart design choices make a big difference, too.
I like to spend 2-4 weeks just planning. Rushing this stage usually leads to mistakes and delays down the road.
Setting Renovation Goals
First, I figure out what just isn’t working in my current kitchen. Sometimes it’s not enough storage, poor lighting, or a layout that’s just awkward.
Then I separate needs from wants. Needs could be more counter space or better ventilation. Wants are things like luxury finishes or fancy appliances.
I also think about how long I plan to stay in my home. If I’m moving in a few years, I focus on updates that boost resale value. If I’m sticking around, I invest in features that make my daily life easier.
Key questions I ask myself:
My family’s future needs matter, too. Growing families need more storage and prep space. Empty nesters might want something smaller and simpler.
Budgeting and Cost Estimation
I always set my budget before I start shopping for materials or talking to contractors. For most homes, kitchen renovations land between $15,000 and $50,000. If you want something really high-end, it can hit $75,000 or more.
I use the 50-35-15 rule to split up my budget:
- 50% for labor and installation
- 35% for cabinets and hardware
- 15% for appliances, flooring, and finishes
Major cost factors include:
| Item | Typical Cost Range |
|---|---|
| Cabinets | $8,000-$25,000 |
| Labor | $6,000-$20,000 |
| Appliances | $3,000-$15,000 |
| Countertops | $2,000-$8,000 |
| Flooring | $1,500-$5,000 |
I tack on an extra 20% as a cushion for surprise costs. Plumbing problems, electrical upgrades, or hidden structural issues can pop up out of nowhere.
Getting quotes from several contractors and suppliers helps me get a sense of what’s normal for pricing in my area.
Design Inspiration and Trends
I start collecting design ideas months before I do anything. Pinterest, Instagram, and home magazines are great for this.
Popular 2026 trends include:
For big-ticket items like cabinets and countertops, I stick with timeless looks. Trendy colors or finishes work better for things I can swap out easily, like paint or hardware.
I like making a design board with my favorite ideas. Seeing everything together helps me figure out my style and how different choices work as a whole.
Practical design factors I watch out for:
I always consider my home’s overall style, too. A super modern kitchen can look weird in a very traditional house. The whole place should feel connected.
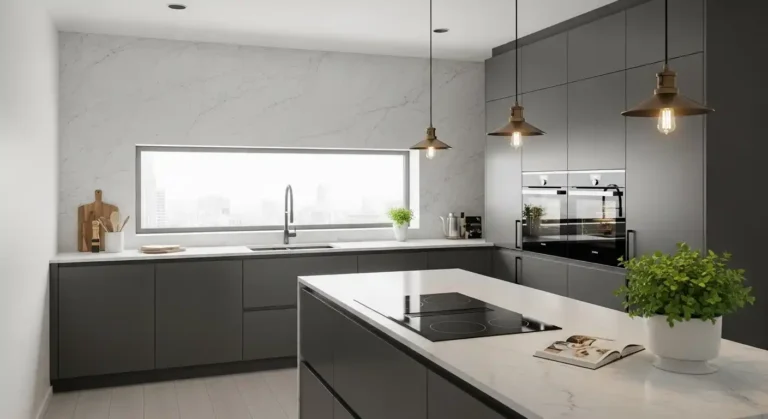
Choosing Kitchen Layouts
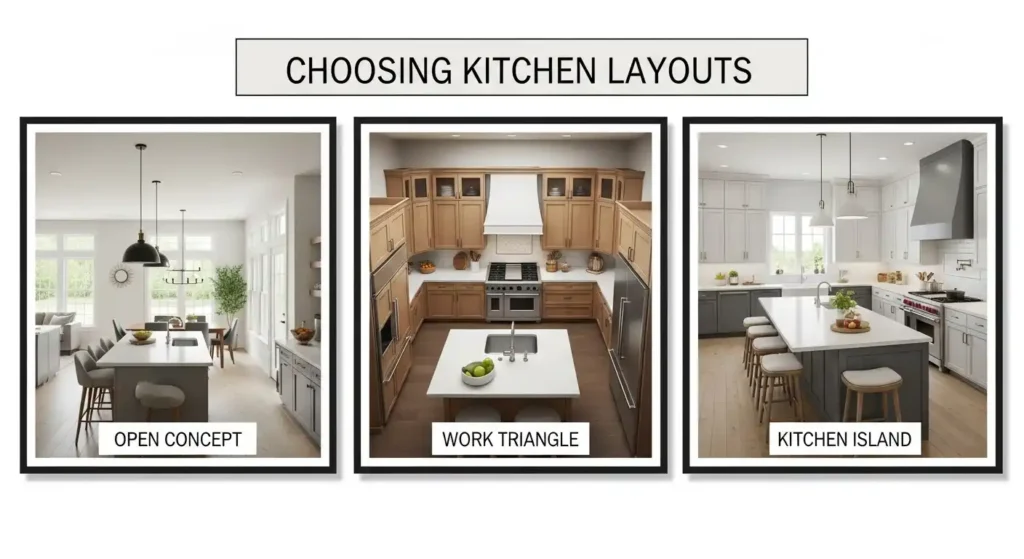
The layout you pick really affects how you move around and how much storage you get. I focus on three things: open designs for more space, efficient work patterns, and islands for function.
Open Concept Designs
Open concept kitchens connect your cooking space with living and dining areas. You basically take down walls to make one big room.
Benefits of Open Layouts:
- More natural light everywhere
- Easier to chat with family or guests while cooking
- Makes small homes feel bigger
- Lets you keep an eye on kids
I recommend choosing the right kitchen layout based on your daily habits. Open layouts work best if you don’t mind your kitchen staying pretty tidy.
Key Considerations:
- Cooking smells travel fast
- Kitchen noise carries into other rooms
- Extra ventilation is a must
- Storage is critical since everything’s out in the open
Open layouts need careful planning for appliances. I put range hoods on high and pick quiet dishwashers—under 44 decibels if possible.
Work Triangle Optimization
The work triangle connects your sink, stove, and fridge with invisible lines. This idea helps you move efficiently between the three spots you use most.
Ideal Triangle Measurements:
- Each side should be 4 to 9 feet long
- Total perimeter between 12 and 26 feet
- No obstacles blocking the way
I aim for logical workflow and easy movement when planning the triangle. Most cooking tasks happen between these zones.
Modern Triangle Adaptations:
- Add prep sinks for more work areas
- Include the microwave in your triangle
- Coffee stations can be a fourth point
- Plan for two cooks if needed
Islands and peninsulas can mess with the classic triangle. I work around this by creating smaller triangles or work zones that make sense for how you cook.
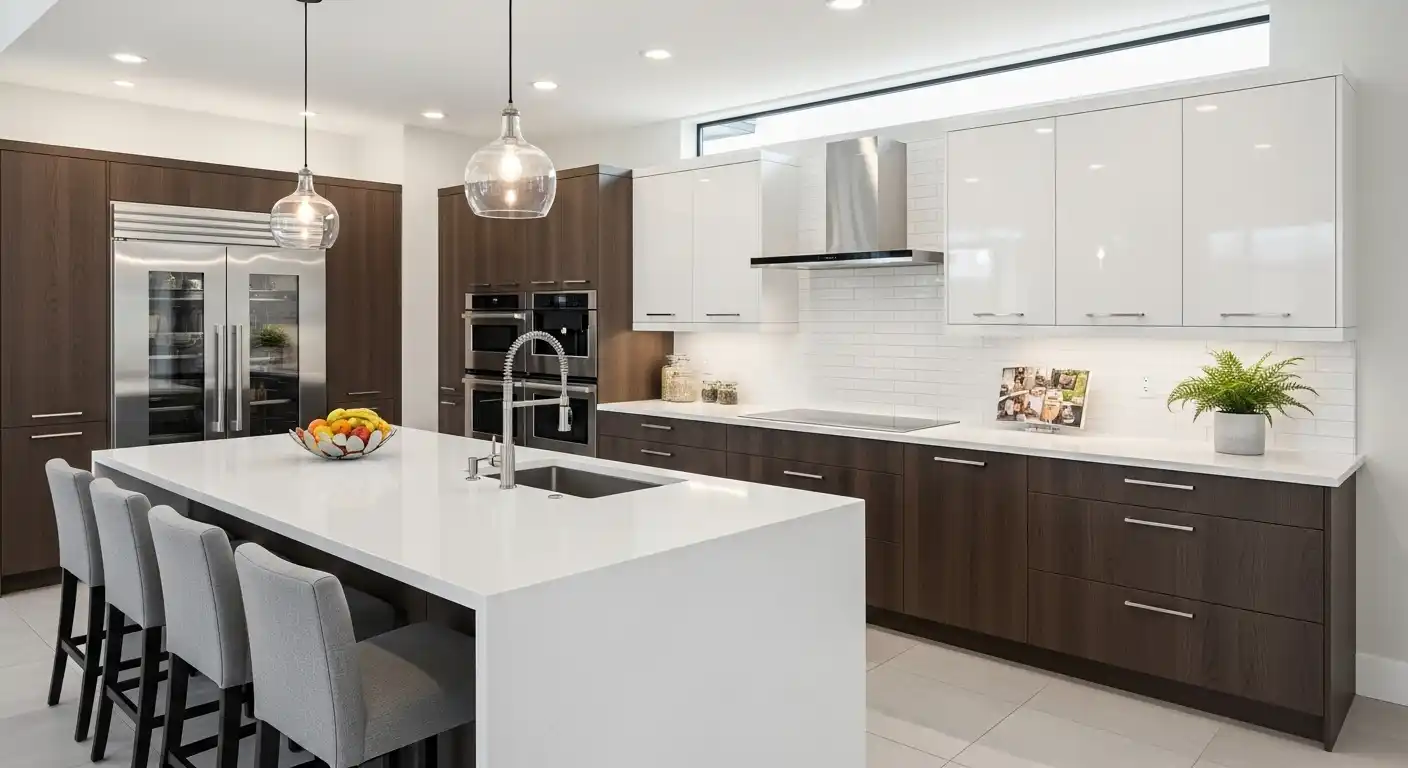
Kitchen Island Options
Islands add workspace, storage, and seating. Only go for an island if you have at least 42 inches of clearance on all sides—trust me, it gets cramped otherwise.
Island Size Guidelines:
| Kitchen Size | Recommended Island Size |
|---|---|
| Small (under 150 sq ft) | 2 x 4 feet max |
| Medium (150-200 sq ft) | 3 x 6 feet |
| Large (over 200 sq ft) | 4 x 8 feet or more |
Popular Island Features:
- Prep sinks for washing veggies and quick cleanup
- Cooktops with good ventilation
- Breakfast bars with at least 24-inch overhangs for seating
- Storage cabinets and deep drawers below
I make sure islands aren’t too close to other work areas. You need at least 36 inches for one person to squeeze by, but 42 to 48 inches feels way better in busy kitchens.
For small spaces, rolling carts work as mini islands. They’re portable, give you extra prep space, and you don’t have to commit to permanent installation.
Selecting Materials and Finishes
When I’m picking kitchen materials, I care most about durability, maintenance, and style. Cabinets, flooring, and backsplashes all need a different approach.
Cabinetry and Countertop Choices
I always start with cabinets since they’re the first thing you notice. Solid wood cabinets like oak, maple, or cherry cost $15,000-$25,000 but can last decades if you take care of them.
Plywood cabinets with a wood veneer look similar and run $8,000-$15,000. I steer clear of particleboard because it tends to sag, especially near the sink.
For countertops, here’s what I usually suggest based on how you cook:
| Material | Cost per sq ft | Maintenance | Best For |
|---|---|---|---|
| Quartz | $60-$120 | Low | Heavy cooking |
| Granite | $40-$100 | Medium | Traditional style |
| Butcher block | $30-$70 | High | Baking prep |
Quartz countertops resist stains and never need sealing. They’re great if you cook a lot or have kids.
Granite needs sealing once a year but can handle heat better than quartz. If you put hot pots down a lot, granite’s probably the way to go.
Flooring Materials
I pick kitchen flooring based on foot traffic and water exposure. Luxury vinyl plank costs about $3-$7 per square foot and shrugs off spills without warping.
Ceramic or porcelain tile runs $2-$15 per square foot. I lean toward porcelain since it’s less porous and doesn’t crack as easily if you drop something heavy.
Hardwood flooring brings warmth but costs $8-$25 per square foot. In kitchens, I only trust engineered hardwood—solid wood just can’t handle moisture swings.
Natural stone like travertine or slate comes in at $10-$20 per square foot. These floors need sealing every year or two to stop stains from oil or wine.
I avoid laminate flooring in kitchens. Water near sinks and dishwashers makes laminate swell and buckle, and that happens faster than you’d like—usually within a few years.
Backsplash Design
Backsplashes add personality and protect walls from grease and water. Subway tile in classic 3×6 inch white ceramic goes for $1-$3 per square foot and matches any cabinet color.
Natural stone like marble or travertine gives a luxury vibe for $8-$25 per square foot. I seal stone backsplashes twice a year to keep oil stains away.
Glass tile bounces light around and makes small kitchens feel bigger. It’s $7-$30 per square foot and wipes clean with regular glass cleaner.
I usually suggest picking materials that are durable, easy to clean, and good-looking without blowing your budget. Metal backsplashes—stainless steel or copper—fit modern kitchens but show fingerprints and water spots right away.
For grout, I always go with epoxy grout instead of cement. It’s pricier but shrugs off stains and never needs sealing by the stove or sink.
Upgrade Features and Appliances
Upgrading your kitchen’s appliances and features can totally change how the space works and feels. Modern appliances save energy and make life easier, while smart tech brings some real convenience to daily routines.
Modern Appliance Integration
When I plan appliance upgrades, I focus on the refrigerator first—it really anchors the kitchen. Modern fridges have dual cooling systems that keep food fresher for longer.
Energy-efficient models can shave 10-20% off your monthly utility bills compared to old ones. I always look for ENERGY STAR certified appliances that hit strict efficiency marks.
Key Appliance Priorities:
- Refrigerator: French door models with bottom freezers
- Range: Induction cooktops for precise temperature control
- Dishwasher: Third rack models for extra loading space
- Microwave: Built-in units to free up counter space
Counter-depth refrigerators cost more but line up with cabinets for a seamless, custom look. That upgrade can boost resale value too.
Smart Kitchen Technology
Smart appliances connect to your phone so you can monitor or control them remotely. I love preheating my oven while driving home or double-checking the fridge door from upstairs.
Voice assistants work with smart appliances to set timers, convert measurements, or read recipes hands-free. That’s a lifesaver during hectic cooking sessions.
Popular Smart Features:
- Wi-Fi enabled ovens with app control
- Refrigerators with interior cameras
- Faucets with touchless activation
- Smart thermostats for kitchen comfort
Smart leak detectors under the sink warn me about water problems before things get out of hand. They’re under $50 and can save you a fortune in repairs.
Lighting Solutions
I layer three types of lighting in kitchens: ambient, task, and accent. Each one fits a different need throughout the day.
Under-cabinet LED strips light up countertops for prepping food. They get rid of shadows that overhead lights can’t touch when I’m chopping or following a recipe.
Effective Lighting Plan:
- Ambient: Recessed ceiling lights every 4-6 feet
- Task: Under-cabinet strips and pendant lights over islands
- Accent: Display lighting in glass cabinets
Dimmer switches let me tweak the brightness for anything from cooking to dinner parties. Bright for prep, soft for eating—makes a big difference.
Pendant lights over islands should hang 30-36 inches above the countertop. I usually install them in odd numbers for a more balanced look.
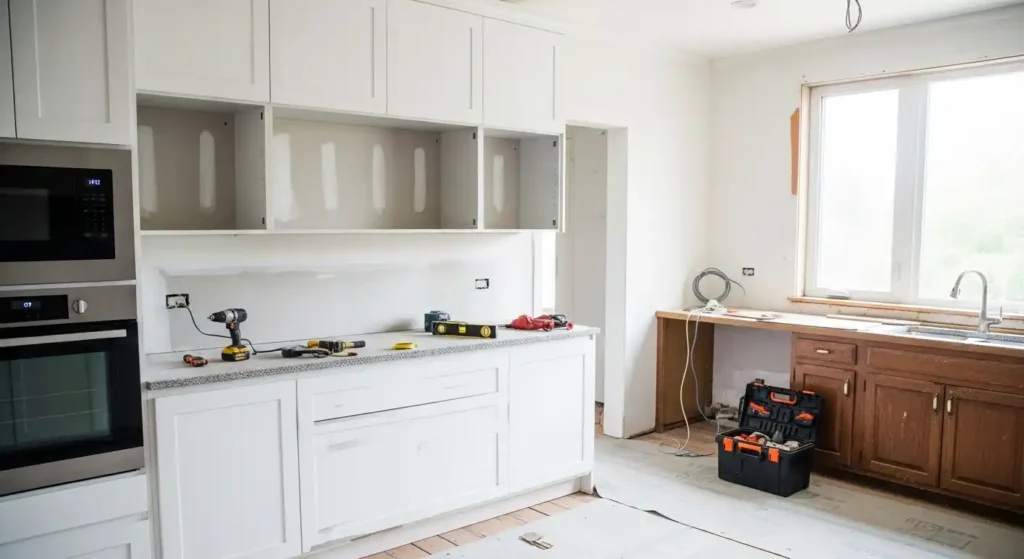
Navigating the Renovation Process
Renovating a kitchen means juggling several pros, permits, and a realistic timeline. I’ll walk you through picking your team, sorting out legal stuff, and managing the project without losing your mind.
Hiring Contractors and Designers
I start searching for pros at least 2-3 months before the planned kickoff. Licensed contractors should have liability insurance and workers’ comp—no exceptions.
Key Questions to Ask Contractors:
- How many kitchen projects do you finish each year?
- Can you share three recent client references?
- What’s your usual project timeline?
- Do you handle permits?
I get detailed written estimates from at least three contractors. The cheapest isn’t always the best. I look for people who ask good questions and break down costs clearly.
For designers, I always check their portfolio to see if their style fits mine. Some charge hourly ($75-150), others by the project.
Red Flags to Avoid:
- Door-to-door solicitors
- Requests for full payment upfront
- No physical business address
- High-pressure sales tactics
I always check contractor licenses through the state board. The Better Business Bureau and online reviews help spot issues with reliability or quality.
Permits and Regulations
Most kitchen renovations need permits, especially if you’re moving plumbing, electrical, or gas lines. Permit costs usually land between $100 and $500, depending on where you live and what you’re doing.
Common Permits Needed:
- Building permit: For structural changes
- Electrical permit: For new circuits or outlets
- Plumbing permit: When moving sinks or adding gas lines
- Mechanical permit: For new ventilation
Your contractor should handle permit applications and regulations. If not, that’s a red flag for inexperience.
I double-check permit needs with the local building department before any work starts. Some places have strict rules for ventilation, outlet placement, or countertop clearances.
Inspections happen at different stages. Failed inspections can stall the project, so I always hire people who know the local codes inside and out.
Timeline and Project Management
A typical kitchen renovation takes 6-12 weeks, start to finish. I break the timeline into clear phases for sanity’s sake.
Typical Timeline Breakdown:
- Week 1-2: Demolition and framing
- Week 3-4: Plumbing, electrical, HVAC rough-in
- Week 5-6: Drywall, floors, and paint
- Week 7-8: Cabinets and countertops
- Week 9-10: Fixtures, appliances, and trim
I always add 20% extra time for surprises. Older homes almost always throw a curveball—outdated wiring, weird plumbing, you name it.
Project Management Tips:
- Schedule weekly check-ins with your contractor
- Take photos and keep written notes
- Organize all your material choices in one place
- Speak up about concerns early
Custom cabinets can add 4-6 weeks to the schedule. I confirm all delivery dates before demo even starts.
Weather, material delays, and last-minute changes can mess with the schedule. Just expect a few bumps and stay flexible through the renovation process.
Frequently Asked Questions
Kitchen renovations take planning—budgets, timelines, design choices. Most homeowners want advice on costs, trends, and what to expect before diving in.
How can one effectively budget for a kitchen makeover?
I suggest setting aside 10-20% of your home’s value for a major kitchen redo. It’s a solid starting point.
Kitchen remodel costs swing a lot depending on scope. Small updates with minimal layout changes usually run $50,000-$80,000.
Mid-range projects tend to fall between $75,000-$100,000. Big jobs with wall removals or major layout shifts often top $100,000.
I always get three contractor quotes to see what the real market rate is for my plans.
Break your budget into cabinets, counters, appliances, flooring, and labor. Cabinets eat up 35-40% of the total, so plan for that.
What are some current trends in kitchen design and amenities?
Bold cabinet colors are everywhere, Green, navy, and warm browns are especially hot right now.
Natural materials keep gaining ground. White oak cabinets with stone counters look timeless and clean.
I notice more dramatic veining in countertops—it’s eye-catching without feeling overdone.
Two-tone kitchens are still big. Light uppers with darker base cabinets create nice contrast.
Large islands with seating double as workspaces and gathering spots. Built-in charging and hidden storage make them even better.
What should homeowners consider before beginning a kitchen renovation project?
I always tell folks to list their kitchen’s pain points first. What drives you nuts every day?
Think about your family’s cooking and entertaining habits. That shapes layout and features more than anything else.
Check local codes and permits early. Some projects need a structural engineer or special sign-offs.
Plan for a temporary kitchen during construction. Most renovations leave you without a working kitchen for weeks.
Pick your big appliances before finalizing cabinet plans. Appliance sizes affect cabinet layout and electrical needs.
How long does a typical kitchen renovation take from start to finish?
Most kitchen renovations take around 6-12 weeks after construction kicks off. The actual timeline depends on how big and complicated your project is.
You’ll need to tack on another 2-4 weeks for planning and design before anyone picks up a hammer. If you’re going for custom cabinets, expect those to take 6-8 weeks to get made.
Simple updates, like painting cabinets or swapping countertops, might wrap up in 2-3 weeks. If you’re tearing down walls or making structural changes, it’s going to take a lot longer.
Permit approvals, material deliveries, and those lovely unexpected surprises can delay things. If your project includes exterior work, weather might throw a wrench in the schedule too.
Keeping your existing appliances usually speeds things up. But when you gut the whole kitchen, you’ll need more coordination between different trades.
What are the key factors that influence the cost of a kitchen renovation?
The size of your kitchen really drives material and labor costs. Bigger kitchens just need more of everything.
Cabinet quality and how they’re built make a huge difference in price. Custom cabinets? They’re pricey compared to stock ones.
Honestly, appliance choices can swing your budget wildly. Go for pro-level appliances, and your costs might double.
Moving walls or plumbing always bumps up the price. You’ll need permits and specialists for those jobs.
Flooring’s another variable—vinyl is budget-friendly, but natural stone can get expensive fast. Both the material and installation costs add up.
Labor costs change depending on where you live and who you hire. Skilled tradespeople charge more, but in my experience, their work tends to last.
How does the value of a kitchen renovation impact real estate marketability?
Kitchen renovations usually return about 70-80% of their cost when you sell. That makes them one of the smarter home improvement moves, at least in my book.
Updated kitchens help homes move faster in competitive markets. Buyers often skip right past houses with old, tired kitchens.
Honestly, modern and functional kitchens just look better in online photos. Good photos mean more showing requests and more people interested.
Neutral design choices tend to attract a wider range of buyers. Highly personalized styles? Not so much.
High-end renovations don’t always pay off in modest neighborhoods. It’s better to match your investment to what buyers in your area expect.
Energy-efficient appliances and sustainable materials catch the eye of eco-conscious buyers. These features can sometimes justify a higher asking price.