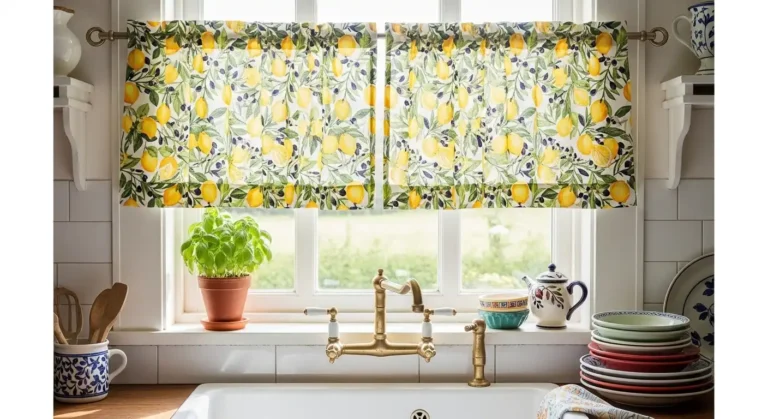
Open kitchen shelving is everywhere lately. It’s no wonder—this trend creates an airy vibe and lets you grab your dishes and cooking stuff without fuss.
Open shelving blends practical storage with visual appeal. Even tiny kitchens somehow feel bigger and more organized when you ditch the upper cabinets.
I’ve seen how open kitchen shelving creates visual openness that tricks your eyes into thinking a space is bigger. The beauty is, it fits almost any style—modern, farmhouse, or somewhere in between.
The trick? Pick the right materials, plan your layout, and style the shelves so they look good but don’t become a dumping ground. I’ll cover everything from floating shelves to metal grids, plus share tips to keep your shelves tidy and inviting—not just a magnet for clutter.
Key Takeaways
- Open shelving makes kitchens feel larger and more accessible, fitting any design style from modern to farmhouse.
- Choose materials like wood, metal, or glass based on your kitchen style and install them with safety and function in mind.
- Keep shelves organized by displaying functional items in a balanced way and steering clear of clutter.
Fundamentals of Open Kitchen Shelving
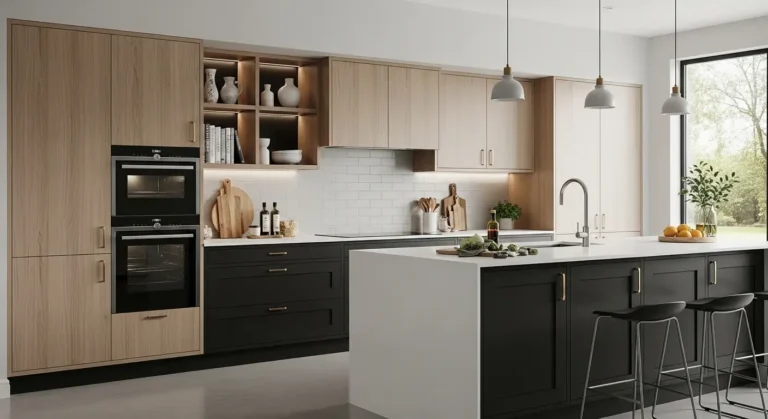
Open kitchen shelving swaps out upper cabinets for exposed shelves that show off your dishes and decor. This approach changes how you use and see your kitchen every day.
What Is Open Kitchen Shelving?
Open shelving means wall-mounted shelves with no doors or cabinet fronts. Your dishes, glasses, and kitchen stuff are all on display.
I can install open shelves in a few ways. Floating shelves use hidden brackets, while wall-mounted shelves have visible supports. Some people just take the doors off their cabinets and call it a day.
Open shelving creates easily accessible storage and lets you show off your favorite pieces. Most folks use them for everyday dishes, glassware, cookbooks, and a few decorative things.
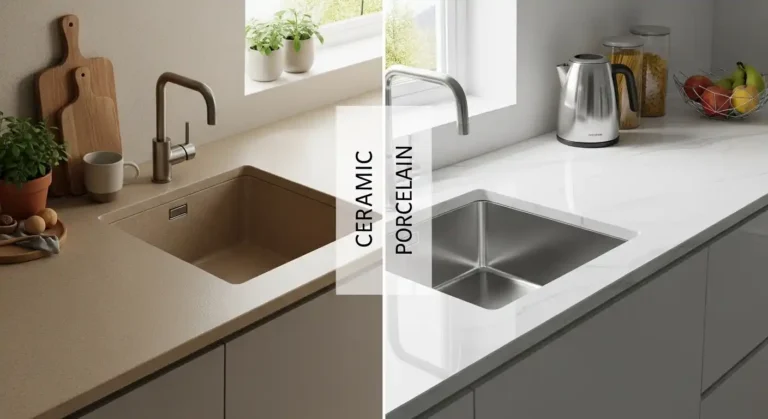
You get to pick from wood, metal, glass, or even stone. Wood brings warmth and fits lots of styles. Metal looks sharp in modern kitchens. Glass shelves keep things feeling light and bright.
Benefits and Drawbacks
Open shelving has its perks. You can grab what you need fast, and the shelves make tight kitchens feel roomier. But, of course, there are some downsides.
Key Benefits:
- Easy access to the stuff you use every day
- Helps small kitchens feel open and airy
- Budget-friendly way to organize your kitchen
- Lets you display pretty dishware and collections
- Pushes you to keep organized
Main Drawbacks:
- Items get dusty and greasy faster
- You have to keep things tidy all the time
- Less storage than closed cabinets
- Clutter is always visible
- Things might break more easily
Open shelving works best for people who are naturally tidy and like a curated look. You’ll need to clean shelves and items more often than you would with closed cabinets.
Open Shelving vs Upper Cabinets
Upper cabinets hide your mess and store more. Open shelves are about access and style, but they demand better organization.
Storage Capacity: Cabinets usually hold 30-40% more than open shelves the same size. They use vertical space better, with multiple interior shelves.
Cost Comparison: Open shelving is way cheaper to put in. Floating shelves cost $20-100 each, while upper cabinets can run $100-500 per linear foot with installation.
Maintenance Requirements: Cabinets keep dust and grease away from your stuff. Open shelves need a weekly wipe-down, while cabinet contents stay cleaner longer.
Visual Impact: Open shelves make kitchens look airy and big. Cabinets can make things feel closed in, but at least everything looks neat.
Accessibility: You can grab things off open shelves faster, but anything up high is still a stretch—just like with cabinets.
Popular Types and Materials for Open Kitchen Shelves
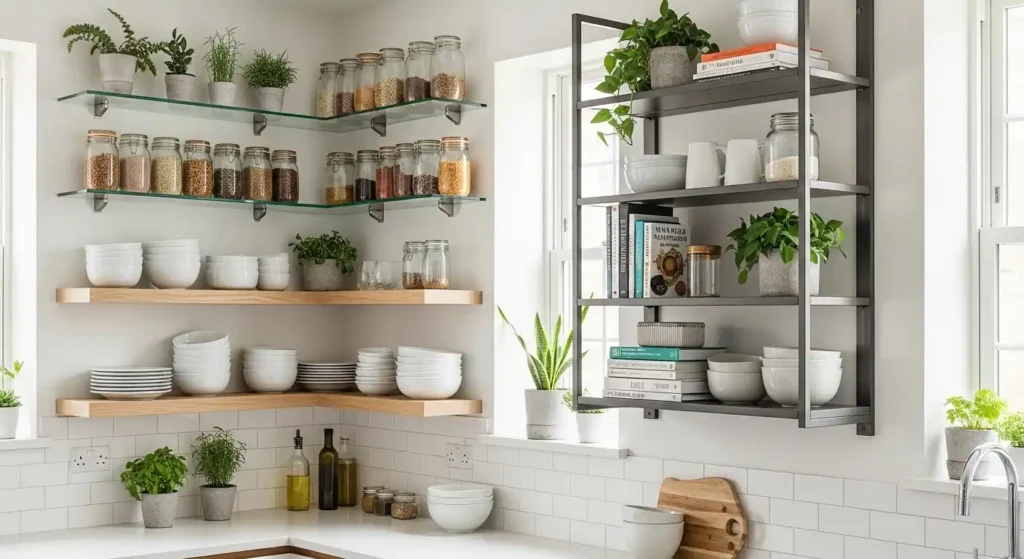
The most common open shelf options? Floating shelves, bracket-mounted styles, and corner shelves made from wood, glass, or metal. Each one brings its own vibe and storage perks.
Floating Shelves and Bracket Shelves
Floating shelves mount right on the wall with hidden hardware. No brackets in sight, just a clean, modern line.
I love floating shelves for minimalist kitchens where you want the dishes and decor to shine. There’s a variety of types—floating, bracketed, you name it.
Bracket shelves use visible supports underneath. They hold more weight than floating shelves and can become decor in their own right.
Pick ornate brackets for a traditional kitchen, or keep it simple with metal for a modern look.
Weight Capacity Comparison:
- Floating shelves: 15-30 pounds per shelf
- Bracket shelves: 40-80 pounds per shelf
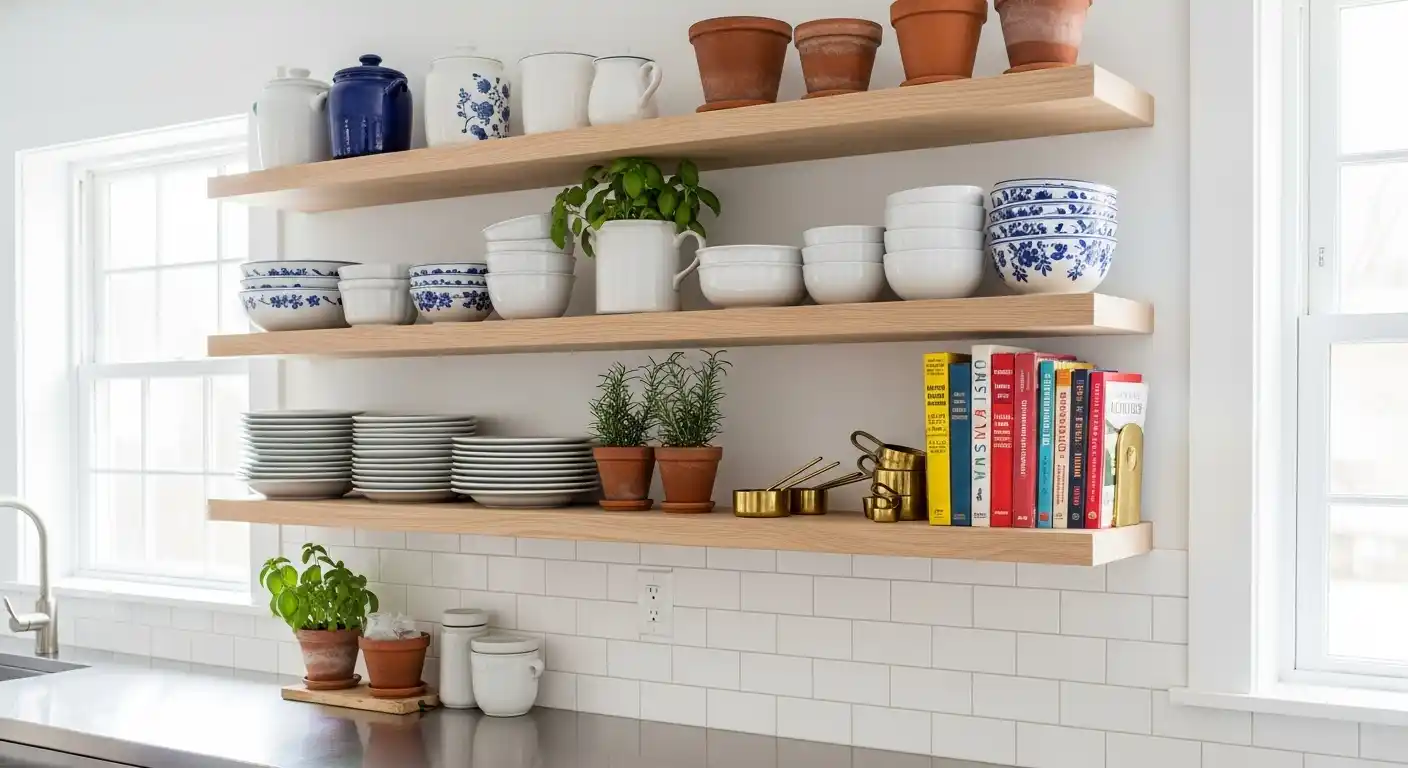
Wooden Open Shelves and Glass Shelves
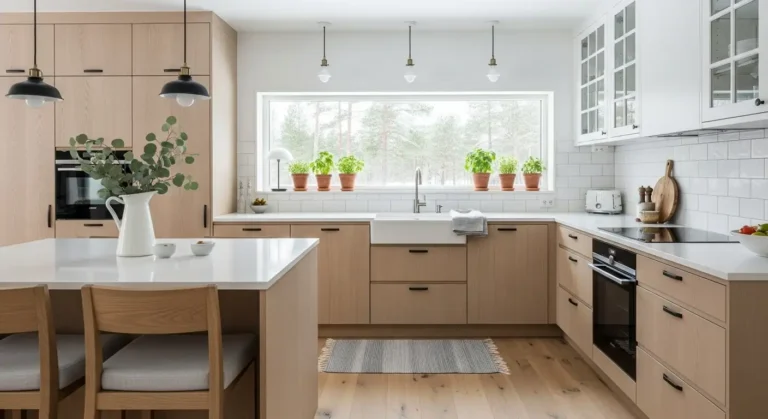
Wooden shelves bring warmth and texture. Oak, walnut, and maple are solid picks for durability.
I like reclaimed wood for farmhouse kitchens. Stained hardwood fits more classic styles.
But wood needs care—seal it every 6-12 months to avoid water damage or stains.
Glass shelves make small kitchens feel open and bright. Tempered glass is sturdy, heat-resistant, and a breeze to clean.
Light flows right through, so your space feels larger. Glass shelves are perfect for displaying colorful dishes or glassware.
Just be ready to clean them often to keep them looking sharp.
Metal Brackets and Industrial Style
Metal shelves—stainless steel, brass, chrome—look super contemporary. They pair nicely with stainless appliances.
Industrial shelving usually combines metal brackets with wood or metal shelves. It’s a modern, urban look that’s pretty popular lately.
I’d go with metal if your kitchen sees a lot of action. It resists moisture and heat, and you can clean it up with regular kitchen cleaners.
Popular Metal Finishes:
- Stainless steel: Matches appliances, food-safe
- Black iron: Bold, but needs a coating to avoid rust
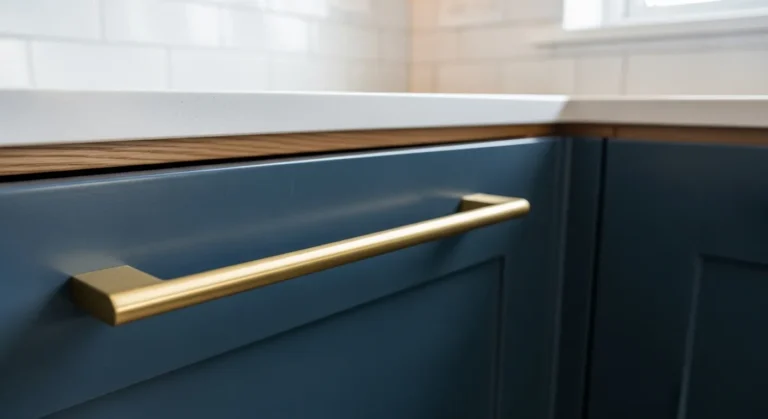
- Brass: Warm tone, develops a patina over time
Metal brackets are strong enough for heavy cookware or big serving bowls.
Corner Shelves and Glass Containers
Corner shelves make use of awkward wall space. They’re a lifesaver in kitchens where you can’t fit long shelves.
Triangular shelves fit snugly in 90-degree corners. Curved ones soften up the angles.
I like putting spices or coffee stuff on corner shelves—things you reach for all the time.
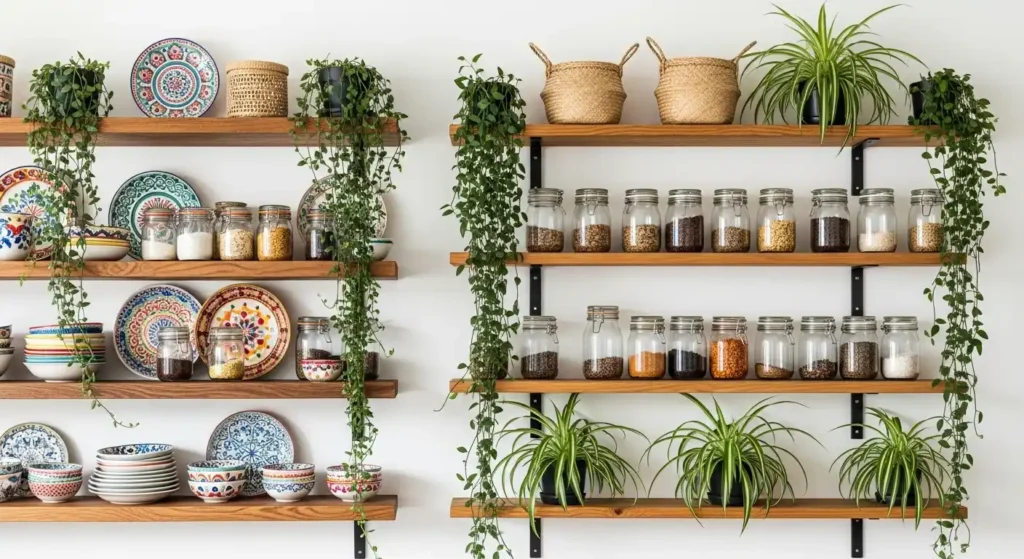
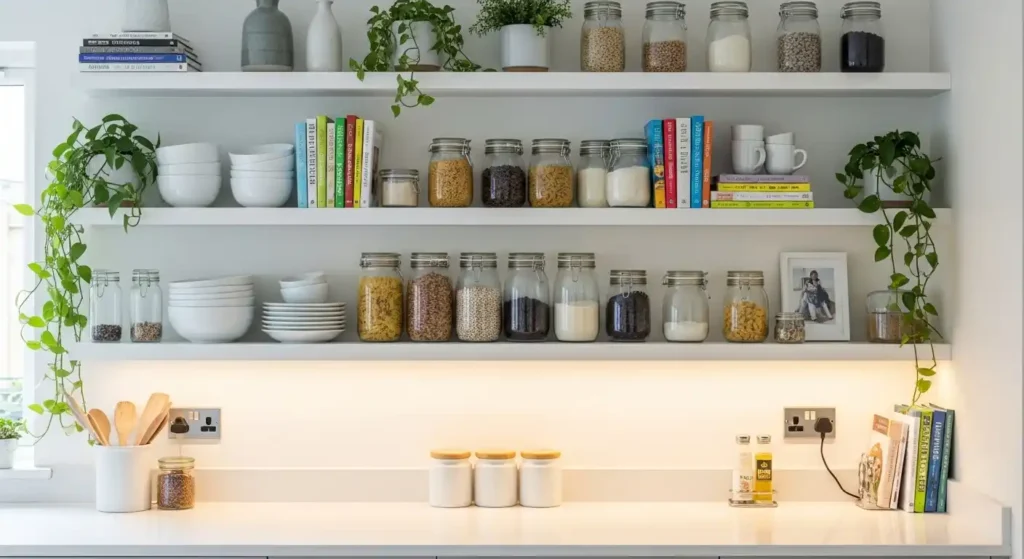
Glass containers keep dry goods fresh and look great on open shelves. You can see what’s inside at a glance.
Stick with matching jars or canisters for a tidy look. Mason jars are great for casual kitchens; streamlined canisters look sharp in modern spaces.
Label everything so you’re not guessing what’s in each jar. Makes cooking way easier.
Design Styles for Open Kitchen Shelving
Open shelving fits with so many kitchen styles. Whether you’re into sleek modern looks or cozy farmhouse vibes, you can make it work with the right materials and arrangement.
Modern Kitchen and Minimalist Kitchen Looks
Modern kitchens use open shelving for crisp, simple lines. I’d go for stainless steel, glass, or polished wood for a sleek modern feel.
Key Materials:
- Stainless steel brackets
- Glass shelves
- White or light wood
- Matte black metal
Keep things symmetrical for a clean look. Sometimes I stagger shelf lengths or heights to keep it interesting, but not messy.
Minimalist kitchens are all about simplicity. Only display things that match your color scheme—think white dishes, clear glass, shiny pots.
Display Items:
- White porcelain dishes
- Clear glass containers
- Stainless steel cookware
- Small indoor plants
Clutter just ruins the vibe. Every item should fit the look you’re going for. Under-shelf lighting is a nice touch for both style and function.
Farmhouse Kitchen and Farmhouse Style
Farmhouse kitchens are all about comfort and charm. I use natural, unfinished wood for that rustic farmhouse look.
Best Wood Options:
- Reclaimed barn wood
- Weathered pine
- Distressed oak
- Natural cedar
I don’t worry too much about perfect symmetry. It’s more about balance and a relaxed feel.
Fill shelves with a mix of useful and decorative stuff. White dishes, mason jars, vintage tins, and worn cookbooks all fit right in.
Essential Farmhouse Items:
- Mason jar storage
- Vintage tin containers
- Wooden bowls
- Fresh herbs in pots
- Woven baskets
Don’t forget to add a little greenery—potted herbs or a bunch of fresh flowers make everything feel alive and welcoming.
Modern Farmhouse Kitchen

Modern farmhouse style mixes rustic charm with sleek, updated design. I like to use light-toned or whitewashed wood with metal brackets for that balanced vibe.
Keep layouts simple—think straight lines and symmetry. Farmhouse style welcomes some whimsy, but the modern twist really wants order and clean organization.
Material Combinations:
- Whitewashed wood shelves
- Black metal brackets
- Light natural wood
- Brushed steel supports
Mix old and new in your decor. I set out earthenware pots and mason jars next to sleek dinnerware and stainless steel tools.
Add a little greenery with fresh herbs or small plants. Under-shelf lighting adds function and a cozy glow that fits both rustic and modern moods.
Rustic, Industrial, and Transitional Approaches
Industrial style leans into raw materials like iron pipes and metal grids. Pipe shelves made from iron or copper really bring out that industrial feel.
Industrial Elements:
- Iron pipe brackets
- Metal grid frameworks
- Raw steel shelving
- Exposed hardware
Transitional kitchens blend traditional and modern styles. I like to pair polished wood with sleek metals for interesting contrast.
Try both symmetrical and asymmetrical layouts in transitional spaces. Maybe line up shelves on one wall and stagger them on another for a more dynamic look.
Transitional Balance:
- Mixed material combinations
- Varied shelf arrangements
- Neutral color palettes
- Classic and modern pieces together
Display ornate plates with minimalist items for a cool mix. Stick with neutral colors, but play around with textures and styles for that sophisticated contrast.
Rustic approaches love natural imperfections and weathered finishes. I go for materials that show age and character instead of shiny perfection.
Planning, Installation, and Safety Considerations
Open kitchen shelving takes careful measurement, good wall anchoring, and smart placement. The right hardware and spacing can mean shelves that last for years instead of ones that buckle under the weight.
Planning Layout and Space
I always start by measuring my wall space and figuring out what I’ll store. Standard dinner plates need about 10-12 inches of shelf depth, but big serving dishes need more—around 14-16 inches.
Kitchen shelves work best when I plan around windows and cabinets. I usually sketch my layout first, marking measurements for each shelf spot.
I check my wall type with a stud finder. Drywall over wood studs is easiest. Brick or concrete? That needs special anchors and a different drilling approach.
Weight matters. I tally up the weight of dishes, glasses, and anything else for each shelf. Heavy stuff like stacks of plates need extra-strong support.
Choosing the Right Mounting Hardware
Metal brackets are my go-to for most kitchen shelves. They show support and hold a lot. I pick brackets rated for at least 50% more than I plan to put on them.
For floating shelves, I use heavy-duty hidden brackets anchored into studs. These look clean but can’t hold as much as traditional brackets.
Wall anchors depend on the wall:
- Wood studs: 3-inch wood screws
- Drywall only: Toggle bolts rated for 75+ pounds
- Masonry: Concrete anchors and masonry screws
I stick with stainless steel or zinc-coated hardware in kitchens. Regular steel just rusts from all the steam and moisture.
Proper Height and Spacing
I put my first shelf 18-20 inches above the countertop. That gives me easy access and space for appliances below.
Shelf spacing depends on what goes up there:
- Standard dishes: 12-14 inches between shelves
- Tall glasses and bottles: 16-18 inches
- Corner shelves: 10-12 inches for easy reach
I keep things I use a lot at eye level, between 54-66 inches from the floor. Heavy stuff stays on lower shelves for safety and easier lifting.
Upper shelves shouldn’t go higher than 72 inches unless they’re just for decor. Anything higher is just tough to reach.
Installation Tips for Stability
I mark all my stud locations before I start. Kitchen shelf spacing and proper installation really means hitting studs for strength.
Level installation is crucial. I use a 4-foot level to mark bracket spots along the wall. Even tiny errors show once the shelves are loaded up.
I pre-drill screw holes to avoid splitting wood. The drill bit should be just a bit smaller than the screw.
For kitchen shelving stability, I put brackets every 24-32 inches max. Longer shelves without center support just sag over time.
I always test each shelf with some weight before loading them up for real. Better to find weak spots early than break a shelf full of dishes.
Styling, Decorating, and Organization Tips
Good organization turns open shelves from cluttered chaos into something beautiful. The right mix of functional stuff, coordinated colors, and smart lighting makes your shelves work as storage and decor.
How to Organize Open Shelves
I always put everyday dishes on lower shelves for quick grabs. Plates, bowls, and cups I use all the time go at eye level or below.
Less-used things—like special occasion dishes or big platters—go up top.
Group similar items together for a tidy look:
- Stack plates by size
- Group glasses by height
- Keep all coffee mugs in one spot
- Store similar cookware together
The “rule of three” works well. Arrange items in odd-numbered groups for visual interest.
Leave some open space on each shelf. Overcrowding just looks messy and makes things hard to grab.
Best Display Items: Cookware, Glassware, and Pantry Displays
Cookware displays look best with matching sets or similar finishes. I like showing off copper pots, cast iron, or stainless steel pieces that actually look good out in the open.
Glass containers are both storage and decoration. I transfer ingredients into matching glass canisters with labels for a neat pantry display.
| Item Type | Best Placement | Display Tips |
|---|---|---|
| Glassware | Eye level | Group by size and style |
| Cookware | Lower shelves | Show handles facing same direction |
| Pantry items | Middle shelves | Use matching containers |
Nice glassware works as decoration all by itself. Wine glasses, water glasses, and unique pieces add interest without extra stuff cluttering things up.
Color, Texture, and Arrangement Techniques
I try to balance color by repeating 2-3 main shades across shelves. It keeps things looking pulled together.
Mixing textures adds some depth. I like pairing smooth ceramics with rough wood boards, or glass with woven baskets.
Height variation helps avoid that flat, boring look. I set tall items next to short ones, and sometimes use books or stands to change up the levels.
Matching floating shelves to cabinet colors creates a seamless, built-in feel. It makes the shelves feel like part of the kitchen, not just something tacked on.
Stick to neutral items if your backsplash is busy. Save bold, colorful displays for plain wall backgrounds.
Incorporating Potted Plants and Under-Shelf Lighting
Potted plants really bring shelves to life. I like using herbs—basil, thyme, rosemary—since they’re handy for cooking and look great.
Small succulents are perfect for higher shelves where sunlight actually hits. Just skip anything that needs lots of water near your dishes or food—trust me, it gets messy.
Under-shelf lighting makes displays pop and helps with kitchen tasks. I’ve found LED strip lights are the most practical since they stay cool and last ages.
Try installing lights under each shelf for nice, even brightness. I prefer warm white bulbs (2700K-3000K); they make the kitchen feel more inviting, less sterile.
If you’re renting, battery-operated puck lights are a solid choice. For something more permanent and tidy, hardwired options look sleek.
Push the lights closer to the shelf’s front edge. That way, you’ll avoid those annoying shadows on your favorite mugs and bowls.