The kitchen is the undisputed heart of the home, the place where families gather, meals are created, and memories are made.
Because of its central role, remodeling it is often cited as one of the most stressful, disruptive, and expensive projects a homeowner undertakes. It’s also the project most likely to suffer from budget overruns and timeline delays.
If you’re embarking on this journey, you’re probably excited by glossy magazine images and beautiful design ideas. That excitement is natural, but I want to ground you in reality for a moment.
Over my career, I’ve seen hundreds of kitchen projects, from stunning successes to complete budget blowouts.
The costly errors are almost always the same, stemming from a lack of deep planning and an overreliance on optimistic assumptions.
I promise you, the mistakes you avoid in the first three weeks of planning will save you tens of thousands of dollars during the final three weeks of installation.
This guide breaks down the 15 most common, and most expensive, mistakes across the entire renovation lifecycle—from initial budgeting to final installation.
Budgeting and Pre-Planning Pitfalls (Mistakes You Make Before Buying Anything)
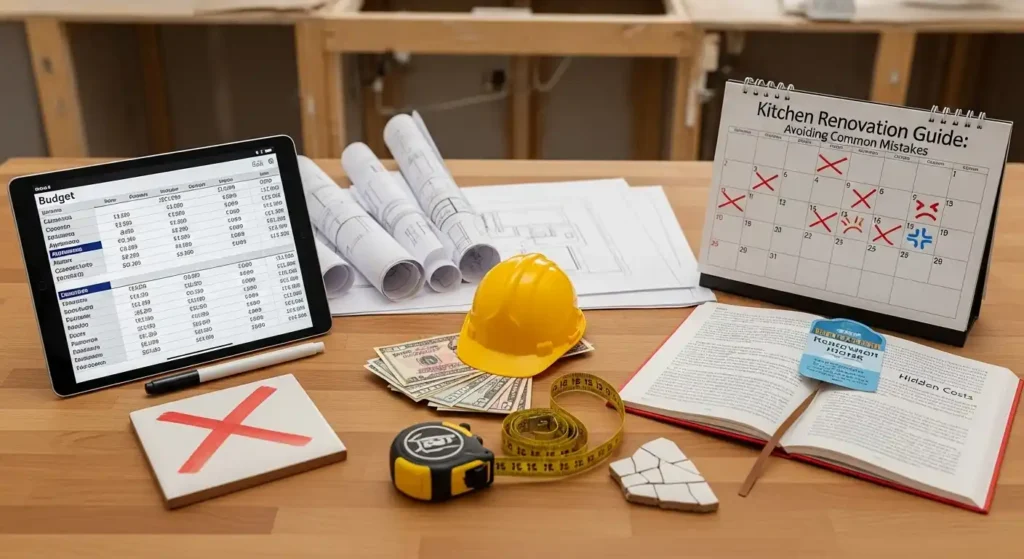
The foundation of any successful renovation is not in the design, but in the paperwork. The errors made in this initial phase—financial and timeline miscalculations—are almost impossible to recover from later.
1. The Myth of the 10% Contingency Fund
Most beginner renovation guides suggest setting aside 10% of your total budget for unexpected costs.
I find this dangerously optimistic, bordering on irresponsible, especially in older homes.
A 10% contingency usually disappears the moment you open up a wall and discover something hidden.
Analysis & Impact:
When you start demolition, you are entering the unknown. That extra 10% vanishes when you find:
- Non-code compliant wiring (e.g., knob-and-tube or aluminum wiring).
- Water damage or mold hidden behind drywall.
- Structural issues requiring a new load-bearing beam.
- Plumbing that needs immediate replacement rather than minor rerouting.
When that 10% runs out, your only options are stopping work, reducing the quality of your finishes, or taking on high-interest debt.
The Fix:
My rule is non-negotiable: budget 15–20% minimum. This fund should be mentally allocated for structural and safety surprises, not for cabinet hardware upgrades. If you don’t use it, you have a bonus at the end. If you do use it, your project doesn’t grind to a halt.
Here is how I recommend structuring a realistic renovation budget:
| Budget Component | Recommended Allocation Range | Notes |
|---|---|---|
| I. Labor & Contractor Fees | 30% – 40% | Includes demo, electrical, plumbing, installation. |
| II. Cabinets & Hardware | 25% – 35% | The largest material cost. Prioritize function over excessive customization. |
| III. Countertops & Backsplash | 10% – 15% | Material and installation cost. |
| IV. Appliances & Fixtures | 8% – 15% | Includes sink, faucet, lighting, major appliances. |
| V. Contingency Buffer | 15% – 20% | DO NOT TOUCH for upgrades. Strictly for surprises. |
2. Failure to Budget for “The Living Period”
When the demolition begins, your kitchen ceases to exist as a functional space. Many homeowners budget for materials and labor but completely underestimate the cost and mental toll of living without a functional kitchen.
Analysis & Impact:
This is a hidden financial drain known as “The Living Period.” A four-to-six-week renovation can easily stretch to eight, ten, or twelve weeks due to supply chain delays.
If you rely on takeout for 10 weeks, those daily costs can easily chew up your contingency fund or worse, derail your health and routine.
The Fix:
Create a Temporary Kitchen Kit. Before demo day, set up a dedicated space (laundry room, garage, or corner of the dining room) with these essentials:
- Mini Fridge: Separate from the main appliance purchase.
- Induction Cooktop: Portable, efficient, and requires only a standard outlet.
- Microwave and Toaster Oven: Your workhorses for quick meals.
- Utility Sink Setup: A deep bin or utility tub for dishes.
Calculate a realistic “takeout budget” (even if it’s just for sanity days) and treat it as a line item in your renovation spreadsheet.
3. The “Aesthetic Drift” Budget Killer
This is the sneaky killer of budgets, driven by mid-project envy. You start with standard shaker cabinets and granite, but halfway through, you visit a friend’s house or scroll Instagram and decide you must have custom exotic wood cabinets and a built-in coffee station.
Analysis & Impact:
This phenomenon, which I call “Aesthetic Drift,” leads to uncontrolled scope creep.
Custom orders often add four to six weeks and 30-50% to the cost of that specific item, which cascades across the entire budget.
The Fix:
Set a definitive Investment Ceiling. Before meeting with any designer, research neighborhood comparables (comps). Your kitchen investment should generally not exceed 10-15% of your home’s total value.
Prioritize high-impact elements like lighting and hardware, which are relatively affordable, over hyper-expensive appliances or materials that won’t give you a commensurate return on investment.
4. Ignoring Lead Times and Premature Purchasing
In the renovation world, time is money. Long lead times for specialized materials can easily turn a six-week project into a four-month ordeal.
Analysis & Impact:
A common mistake is buying large, sensitive appliances (especially custom range hoods, high-end European ovens, or specific tile lots) before demolition even begins.
Where do you store them? They take up garage space, they get damaged during construction, and worst of all, their warranty starts running while they sit unused.
The Fix:
Implement a Just-In-Time (JIT) delivery schedule. Your contractor needs appliance spec sheets (the exact model number and dimensions) during the design and rough-in phase to plan electrical and plumbing placements.
However, the actual physical delivery should be timed after framing and rough-in are complete, ideally just a few days before installation.
5. Skipping Professional Permitting and Licensing Checks
The desire to save money often tempts homeowners into hiring a “handyman” or a contractor who promises to “handle everything discreetly,” meaning they sidestep permits. This is a massive long-term risk.
Analysis & Impact:
Permits aren’t just bureaucracy; they ensure your work is inspected by the city to meet current safety and building codes. If you skip permits and:
- You have a kitchen fire or major leak, your insurance claim can be denied.
- You decide to sell your home, unpermitted work will be flagged by inspectors, requiring you to pay for expensive retroactive fixes or offering a massive concession to the buyer.
- The work is done poorly, it can endanger your family.
The Fix:
Mandatory Steps for Vetting. Never hire a contractor purely on price. Require copies of all permits before work starts.
Verify their license and insurance directly with your local or state licensing board.
Understand the key difference: a minor cosmetic change (like replacing cabinet doors) rarely needs a permit, but any alteration to plumbing, electrical, gas lines, or structure requires one.
Design and Aesthetic Blunders (Functionality & Visual Chaos)
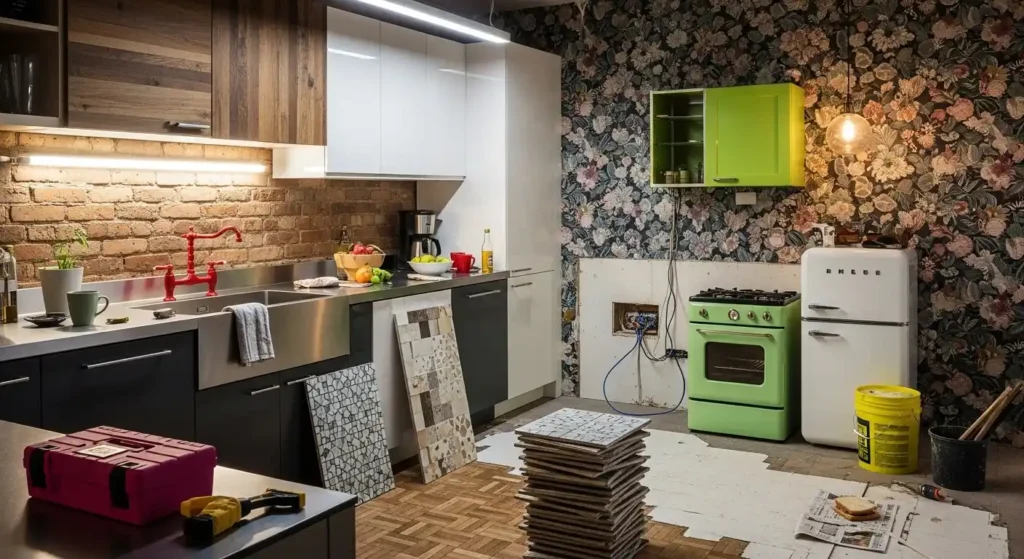
A beautiful kitchen that doesn’t work is just an expensive museum exhibit. This section focuses on the design mistakes that ruin daily usability and visual flow, regardless of how much money you spend.
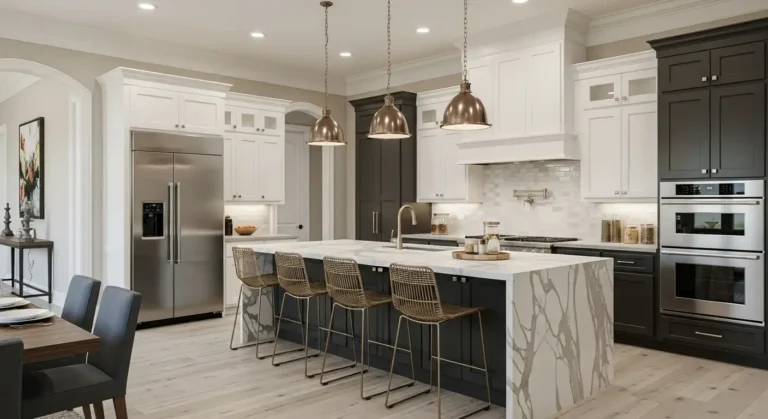
6. Violating the Ergonomics of the Work Triangle
The “Work Triangle” is the foundational concept in functional kitchen design. It defines the paths between your three main hubs: the Sink, the Fridge, and the Cooktop.
Analysis & Impact:
Violating this geometry is the quickest way to destroy kitchen efficiency. If the legs of the triangle are too long, you spend half your cooking time walking.
If they are too short, two people can’t work simultaneously without bumping into each other. If the pathways cross a main traffic route (like a door to the dining room), it becomes a hazard.
The Fix:
The optimal length for any single leg of the triangle is between 4 and 9 feet. The sum of all three legs should ideally be between 13 and 26 feet. When designing, emphasize the flow:
- Food moves from Fridge (storage) to Sink (prep/cleaning) to Cooktop (cooking).
- Ensure these pathways are clear of obstructions, like open dishwasher doors or island seating.
7. Neglecting Necessary “Landing Zones”
A beautiful, functional kitchen needs horizontal surfaces for momentary use. A “landing zone” is a clear counter surface immediately next to a major appliance.
Analysis & Impact:
Think about taking a hot, heavy pot out of the oven, or grabbing milk from the fridge. If you don’t have a clear landing zone nearby, you must either awkwardly hold the item or walk several feet, increasing the risk of accidents and spills. This is particularly problematic around the cooktop and oven.
The Fix:
Specify minimum required counter space. I tell all my clients to mandate at least 15-18 inches of usable, uninterrupted counter space on either side of the cooktop. Similarly, ensure there is at least 18-24 inches of counter space immediately adjacent to the refrigerator door swing. This simple step vastly improves kitchen safety and workflow.
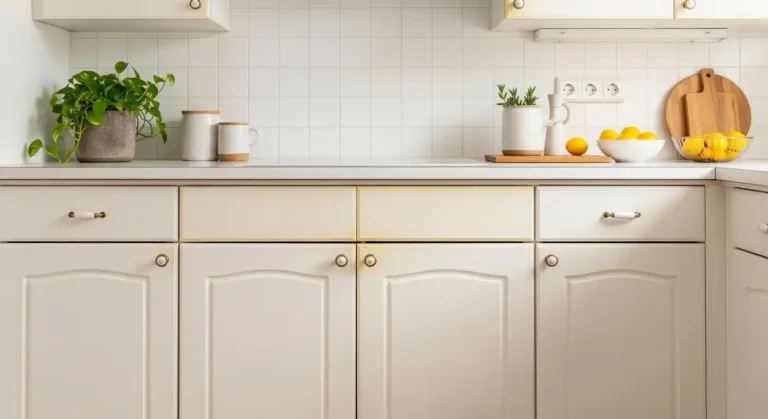
8. Choosing Trendy Finishes Over Timeless Durability
The pressure to be trendy can lead you to choose materials that are visually stunning for a year but a nightmare to maintain for a decade.
Analysis & Impact:
Obsessing over highly porous, soft materials (such as raw concrete or certain soft marbles like Carrara) in a high-spill, high-traffic area like the kitchen leads to inevitable staining, etching from acids (lemon juice, vinegar), and excessive maintenance requirements (frequent sealing).
The Fix:
Match the material to the homeowner’s lifestyle. If you are a heavy cook, parent, or entertainer, you need a high-durability surface. Guide your choices toward engineered or non-porous surfaces:
| Kitchen Surface | Pros | Cons (Maintenance Risk) |
|---|---|---|
| Quartz | Non-porous, stain-resistant, never needs sealing. | Cannot tolerate high heat (e.g., hot pan). |
| Granite | Excellent heat resistance, durable, natural look. | Requires annual sealing to maintain stain resistance. |
| Porcelain Slabs | Extremely hard, non-porous, resistant to heat and UV. | Can be difficult and expensive to install/repair. |
| Marble | Classic, luxurious aesthetic. | Highly susceptible to etching and staining from acids. |
9. Poorly Planned and Inaccessible Storage Solutions
If you rely exclusively on standard shelving in base cabinets, you are wasting valuable space.
Deep, dark cabinets quickly turn into a “black hole” where items are forgotten or become impossible to reach without getting on your hands and knees.
Analysis & Impact:
The frustration of inaccessible storage makes your kitchen feel smaller and less functional.
A deep corner cabinet, for example, can become a graveyard of small appliances and expired foods. You’re losing storage, and you’re losing time hunting for items.
The Fix:
Invest in quality, accessible hardware. Prioritize full-extension, soft-close drawers for all base cabinets.
They cost slightly more than standard doors, but they revolutionize accessibility. Furthermore, implement modern solutions:
- Pull-Out Systems: Slim pull-out spice racks and pantries.
- Lazy Susans: For corner cabinets, ensure the system fully rotates or pulls out (like a kidney-shaped tray).
- Vertical Storage: Dedicated slots above the fridge or in a narrow cabinet for storing trays, cookie sheets, and cutting boards vertically.
10. Under-Utilizing Layered Lighting (Shadows on the Task)
A single row of overhead recessed lights is the default, but it’s a lighting mistake that literally leaves you cooking in the dark.
Analysis & Impact:
When you stand at the counter preparing food, the single overhead light source is behind you, causing your body to cast a shadow directly onto your primary work surface.
This forces eye strain and makes delicate tasks like chopping vegetables hazardous.
The Fix:
Implement a Layered Lighting Plan with three distinct light sources:
- Ambient: The general room lighting (recessed lights or central fixture).
- Task: Mandatory under-cabinet strip lighting. This is the most crucial layer, as it bathes the counter in even, shadow-free light.
- Accent: Decorative lighting (pendant lights over an island, toe-kick lighting, or in-cabinet lights). This adds depth, mood, and visual interest.
Execution and Contractor Oversight Mistakes (The Build Phase)
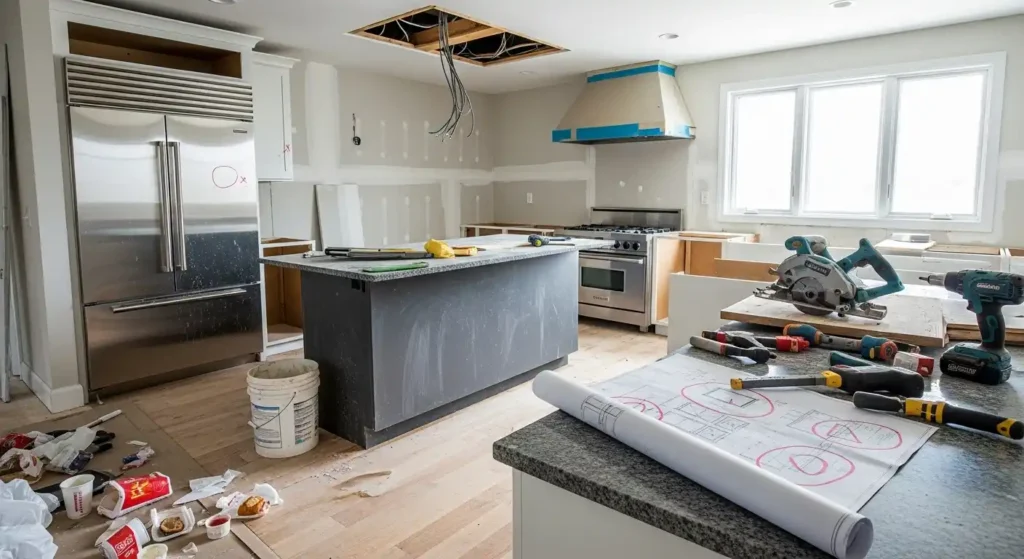
Even with perfect planning and design, the execution phase can be derailed by technical mistakes, usually due to poor communication between the homeowner and the various tradespeople (electrician, plumber, installer).
11. The Electrical Insufficiency Mistake
Modern kitchens are appliance-heavy, and many homeowners dramatically underestimate their current and future power needs.
Analysis & Impact:
Not enough general-use outlets is a constant annoyance (leading to risky extension cord use).
More seriously, failure to install dedicated 20-amp or higher circuits for high-draw appliances (range, oven, microwave, dishwasher, garbage disposal) leads to frequent tripped breakers and can damage sensitive electronics.
The Fix:
Plan for Density and Safety.
- Dedicated Circuits: Ensure all major appliances and fixed items (like a water heater or heavy-duty stand mixer area) are on dedicated, appropriately-rated circuits.
- Appliance Garages: If you plan to hide small appliances (like a toaster or blender) in a cabinet, ensure that cabinet includes internal, properly-wired outlets.
- Safety First: Mandate the installation of GFCI (Ground Fault Circuit Interrupter) outlets anywhere near a water source (sinks, coffee stations).
- I always tell clients to double the outlets they think they need. You will use them.
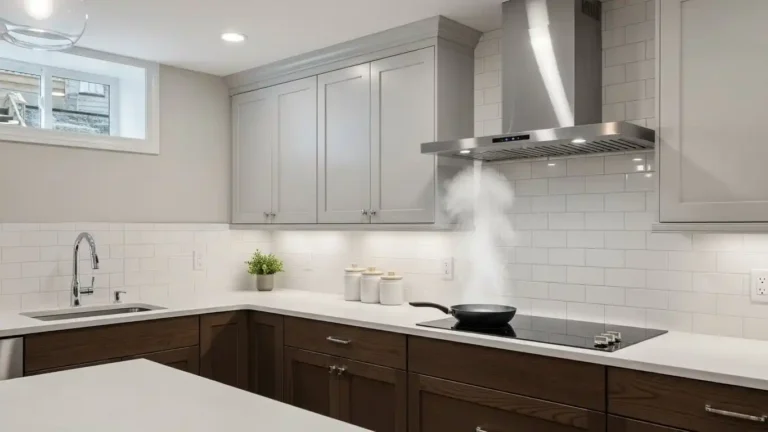
12. Miscalculating Ventilation CFM and Ducting
Ventilation is often an afterthought, treated as a simple aesthetic choice rather than a critical safety and air quality component.
Analysis & Impact:
Choosing a cheap, recirculating hood (which filters the air and blows it back into the room) over a properly ducted exterior system is a major failure, especially if you have a powerful gas range.
Poor ventilation leads to high grease and moisture build-up on cabinets and walls, increases indoor air pollutants, and leaves strong odors lingering for days.
The Fix:
Calculate the Required CFM (Cubic Feet per Minute). For most electric ranges, a simple calculation (like 100 CFM per lineal foot of range) works. For powerful gas ranges, you may need a system rated at 600 CFM or higher.
Crucially, you must Emphasize Proper Duct Sizing. If you buy a 900 CFM hood but run it through a tiny 4-inch duct, you will choke the system, dramatically reducing performance and creating excessive noise.
Discuss the duct run (straight and short is best) and the required diameter (usually 6-inch or 8-inch) with your HVAC professional.
13. Plumbing Placement vs. Appliance Specs
Plumbers are often the first trade on site after demolition to start the rough-in.
If they place the pipes for the sink and dishwasher before you have finalized the exact model numbers, you are setting yourself up for a costly re-do.
Analysis & Impact:
Every sink (drop-in, undermount, apron front) has unique requirements for drain placement and clips.
Every dishwasher requires a specific location for its water line and drain. If the rough-in is incorrect, the countertop installer or cabinet maker may have to cut, drill, or modify expensive custom pieces, adding complexity and cost.
The Fix:
Insist that the plumber work directly from the finalized appliance specification sheets. These manufacturer documents contain precise measurements for water and drain connections.
This is also critical for auxiliary plumbing, like the placement of a garbage disposal switch, water filter tap, or the rarely-used but convenient pot filler faucet. I never allow rough-in until the specs are printed and taped to the wall.
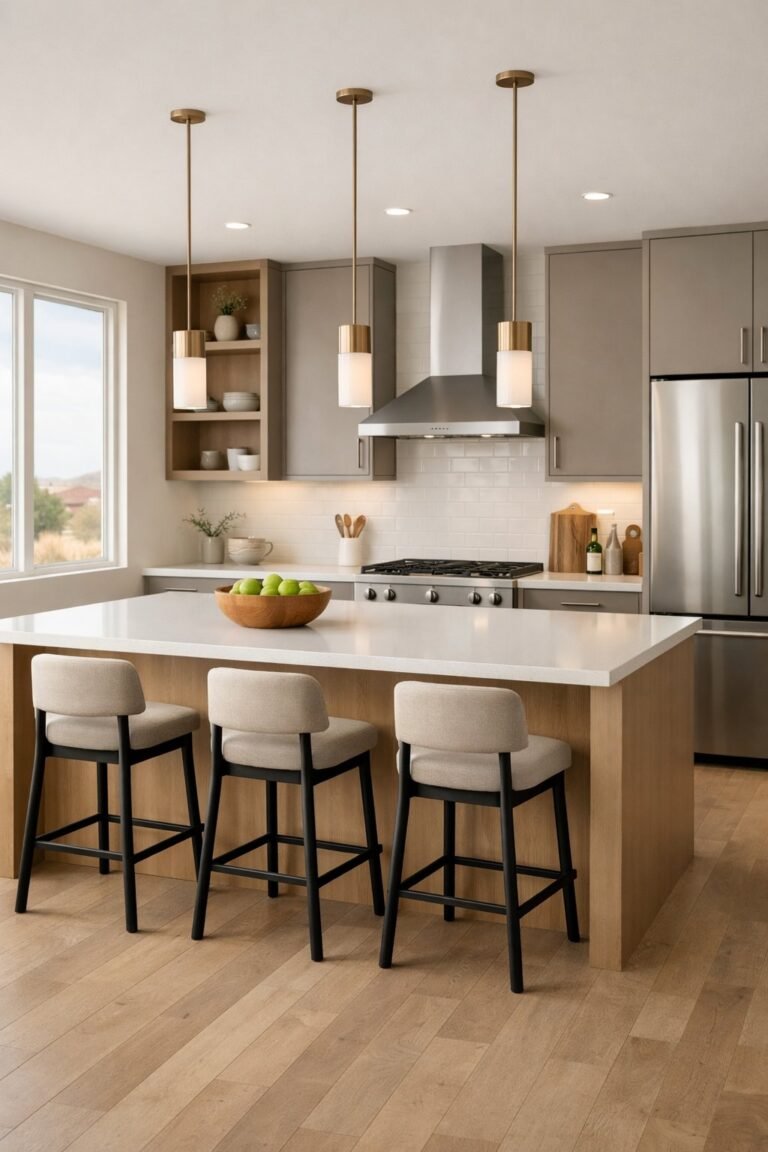
14. The Missing “Buffer Zone” on Islands and Peninsulas
Everyone dreams of a grand kitchen island, but if it’s too large for the room, it ruins the flow and creates physical hazards.
Analysis & Impact:
Not leaving enough space for the Work Triangle to operate or for general traffic flow around an island or peninsula creates dangerous bottlenecks.
Trying to open the dishwasher while someone is standing at the island, or having to squeeze past an open refrigerator door, is annoying at best and a safety hazard at worst.
The Fix:
Mandate a Minimum Clearance. The standard, comfortable working width between the edge of the island/peninsula and the surrounding cabinets or walls is 42 inches (106 cm).
If you have two people working simultaneously in the main prep area, you should ideally target 48 inches.
Never go below 36 inches, as this is the minimum code requirement and feels extremely cramped.
15. The Final Inspection and “Punch List” Oversight
This is the very last opportunity you have to hold your contractor accountable, and far too many homeowners rush it.
The mistake is paying the contractor the final 10% or 15% installment before a thorough, systematic inspection is complete.
Analysis & Impact:
Once the final check is written, your contractor’s incentive to return for minor fixes (the “punch list”) drops to near zero.
You could be left with minor but annoying issues like chipped paint, a cabinet door that scrapes, a crooked light fixture, or a faucet with low pressure.
The Fix:
Hold Back Final Payment Until All Items are Signed Off. Create a detailed, written “Punch List” by doing a room-by-room inspection over the course of a day or two.
Your Punch List Must Include:
- Aesthetics: Check all paint, caulking, and grout lines for uniform finish. Check for gaps between the wall and base cabinets.
- Functionality: Test every drawer (full extension), every door (soft close), every light, and every appliance.
- Plumbing/Electrical: Run the dishwasher, check all sink pressure, and ensure all outlets are properly wired and functional.
- Hardware: Ensure all cabinet hardware is installed plumb (straight) and securely fastened.
Wrapping It Up
A perfect, functional, and long-lasting kitchen comes from perfect preparation, not luck. The biggest wins in your renovation will occur in the initial planning stage, long before you select a tile.
It’s an overwhelming project, but I truly believe that by methodically avoiding these 15 critical mistakes, you transform a stressful build into a triumphant success story.
Which mistake was the most surprising to you? Let me know, and we can dive deeper into any of these planning stages!