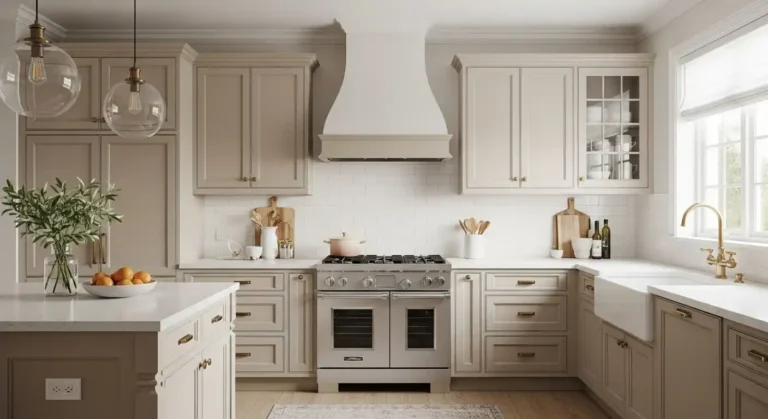
Kitchen cabinets are the unsung heroes of your home. They store everything from everyday dishes to rarely used appliances, protect your food items from dust and pests, and contribute significantly to your kitchen’s overall aesthetic.
Yet, despite their importance, cabinets often become cluttered, disorganized spaces that make meal preparation frustrating and time-consuming.
If you find yourself rummaging through stacks of mismatched containers or struggling to locate that specific spice, it’s time for a comprehensive cabinet overhaul.
Deep cleaning and organizing your kitchen cabinets may seem like a daunting weekend project, but the benefits are substantial.
You’ll reduce food waste by seeing what you actually have, streamline meal preparation, create a more hygienic cooking environment, and even gain valuable storage space you didn’t know existed.
This guide will walk you through the complete process, from initial emptying to final organization, ensuring your cabinets remain functional and beautiful for months to come.
Step 1: Schedule and Prepare for the Project
The first step in learning how to deep clean and organize your kitchen cabinets is proper preparation.
Set aside adequate time—typically 4-6 hours for an average-sized kitchen, though larger spaces may require a full day.
Choose a time when you won’t be interrupted and won’t need to prepare meals, as your kitchen will be temporarily out of commission.
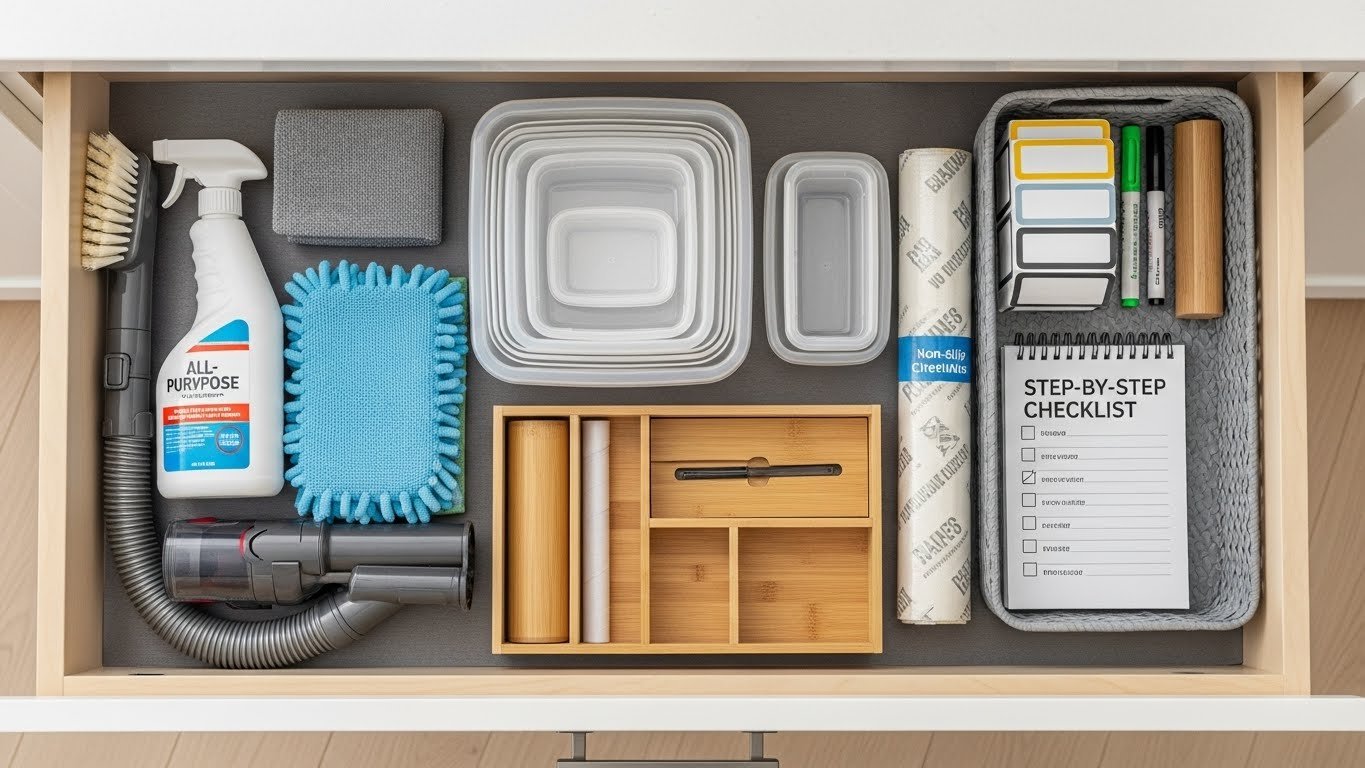
Gather your supplies before starting.
You’ll need all-purpose cleaner or a mixture of warm water and dish soap, white vinegar for stubborn grime, microfiber cloths, old toothbrushes for corners and crevices, trash bags, boxes for donations, and a step ladder if you have tall cabinets.
Having everything within reach prevents frustrating interruptions once you’ve begun.
Professional organizers recommend tackling one section at a time rather than emptying all cabinets simultaneously.
This approach prevents overwhelming chaos and allows you to maintain some kitchen functionality if the project takes longer than anticipated (source: Real Simple).
Step 2: Empty and Sort Everything
Begin by completely emptying your first cabinet section. Place items on your kitchen counter, dining table, or a clean sheet on the floor.
As you remove items, sort them into categories: keep, donate, discard, and relocate. Be ruthless during this process—expired food, chipped dishes, duplicate gadgets, and items you haven’t used in over a year should probably go.
Check expiration dates on all food items, spices, and condiments. Many people are surprised to discover how many expired products lurk in their cabinets.
Ground spices typically lose potency after 2-3 years, while whole spices last 3-4 years. Canned goods with dents, rust, or bulging should be discarded immediately for safety reasons.
Create logical groupings as you sort: baking supplies together, canned goods together, dishes by type, and so forth. This categorical thinking will make the reorganization phase significantly easier and more intuitive.
According to organizing experts, grouping similar items into zones is fundamental to maintaining an organized kitchen long-term (source: Sinclair Cabinets).
Step 3: Deep Clean Cabinet Interiors
With cabinets empty, you can finally address the accumulated grime, crumbs, and sticky residue. Start by vacuuming or wiping out loose debris with a dry cloth.
Then, prepare your cleaning solution—either commercial all-purpose cleaner or a mixture of warm water with a few drops of dish soap works well for most situations.
Wipe down all interior surfaces, including the often-neglected cabinet tops, sides, and corners. Pay special attention to areas around cooking zones where grease tends to accumulate.
For stubborn sticky spots, let your cleaning solution sit for a few minutes before scrubbing. Old toothbrushes excel at cleaning cabinet corners, hinges, and hardware details.
For particularly grimy cabinets, especially those near the stove, a mixture of equal parts white vinegar and water can cut through grease effectively.
After cleaning, wipe surfaces with a clean, damp cloth to remove cleaning residue, then dry thoroughly with a clean towel.
Moisture left in cabinets can lead to mold growth or warping, so don’t skip this crucial drying step.
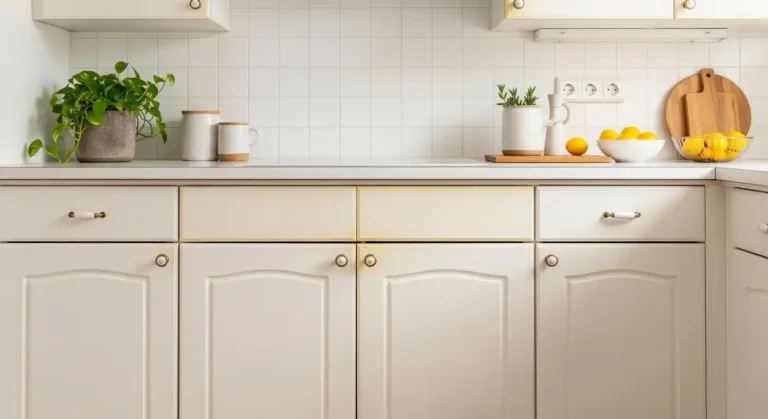
Step 4: Clean and Maintain Cabinet Exteriors
Cabinet exteriors face their own challenges, from fingerprints on handles to grease splatters and cooking residue.
The appropriate cleaning method depends on your cabinet finish. Wood cabinets require gentle care—use a barely damp cloth with mild soap, avoiding excessive moisture that can damage the finish.
Follow the wood grain when wiping, and dry immediately.
Painted or laminate cabinets tolerate more moisture and can be cleaned with standard all-purpose cleaners.
Glass-front cabinets showcase fingerprints and smudges, requiring regular attention with glass cleaner and microfiber cloths for streak-free results.
Don’t overlook cabinet hardware. Knobs and pulls accumulate oils from hands and cooking. Remove them if possible and soak in warm soapy water, then scrub with an old toothbrush before drying and reinstalling.
If removal isn’t feasible, clean them thoroughly in place with appropriate cleaners for their material—brass, stainless steel, or painted finishes each have specific care requirements.
Step 5: Implement Smart Organization Systems
Now comes the satisfying part—organizing your cleaned cabinets with intelligent storage solutions.
The key to maintaining organization is ensuring everything has a designated home and is easily accessible.
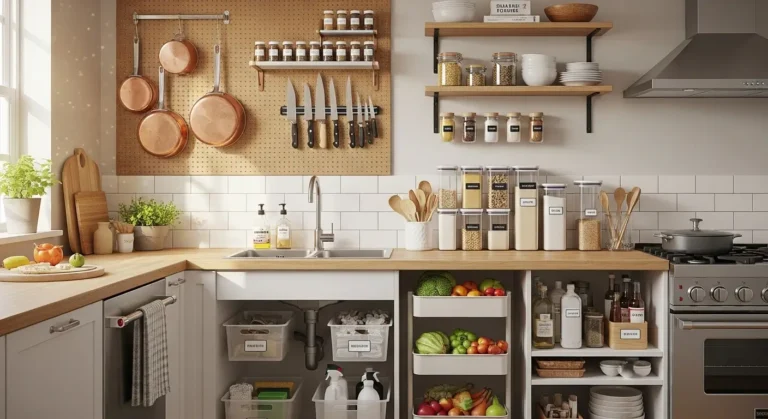
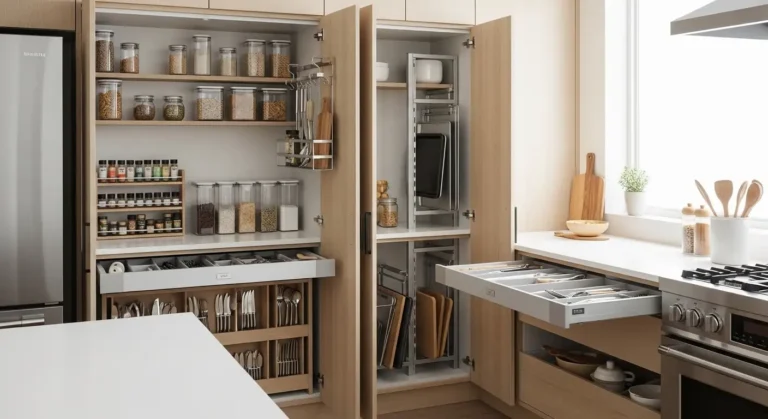
Experts recommend utilizing risers and dividers to maximize vertical space, especially for items like pans, cutting boards, and baking sheets (source: The Kitchenix).
For deep cabinets, pull-out drawers, lazy Susans, or tiered organizers prevent items from disappearing into the back abyss.
Place frequently used items at eye level and within easy reach, while occasional-use items can occupy higher or lower shelves.
Store heavy items like appliances and mixing bowls in lower cabinets to prevent accidents and strain.
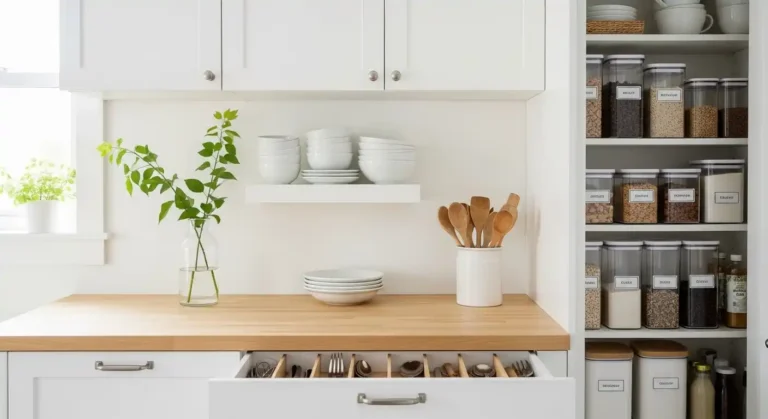
Consider these organization strategies: use clear containers for dry goods so you can see contents and quantities at a glance.
Install cabinet door organizers for cutting boards, lids, or cleaning supplies; use stackable shelf inserts to double your storage space; and label everything, particularly in pantry cabinets where similar items might be confused.
Professional organizers emphasize that accessibility improvements are crucial for long-term success (source: The Kitchn). If you can’t easily see and reach items, your organizational system will fail within weeks.
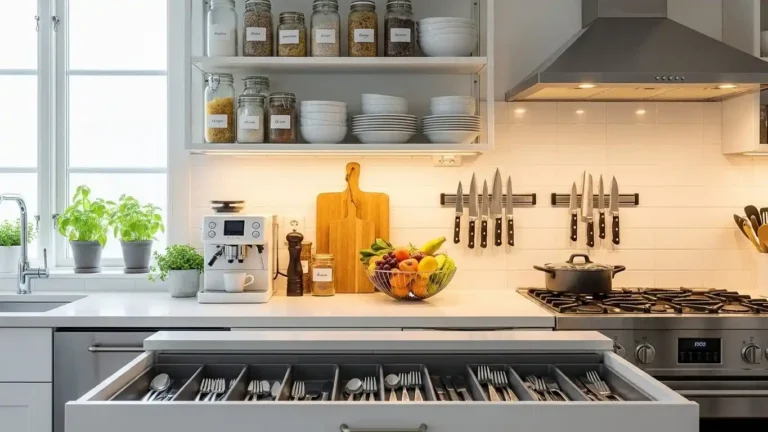
Step 6: Organize by Activity Zones
Create functional zones based on how you actually use your kitchen. Establish a baking zone with flour, sugar, measuring cups, and baking pans together.
Create a beverage station near your coffee maker with mugs, coffee, tea, and filters. Position your cooking zone near the stove with oils, spices, and frequently used utensils.
This zone-based approach, recommended by organizing professionals, reduces the steps required during meal preparation and makes cooking more intuitive (source: Martha Stewart).
You’ll naturally develop efficient routines when related items are stored together logically.
For dishes and glassware, store them near the dishwasher to streamline unloading.
Position everyday dishes on lower, easily accessible shelves, while fine china or special occasion pieces can occupy higher cabinets.
Stack plates by size with the largest on bottom, and nest bowls to conserve space.
Step 7: Maintain Your Organized System
The final and perhaps most important step is establishing habits that maintain your newly organized cabinets.
Implement a “one in, one out” rule—when purchasing new items, remove something old to prevent re-cluttering.
Conduct quick weekly checks to ensure items return to their designated spots, and schedule quarterly reviews to reassess your system and purge expired items.
Involve all household members in the organizational system.
Clearly labeled zones and containers help everyone understand where items belong, increasing the likelihood they’ll be returned to proper locations.
Consider taking photos of your organized cabinets as reference guides for maintaining the system.
Set a calendar reminder for a mini-refresh every three months. This 30-minute investment prevents cabinets from returning to their previous chaotic state and makes the next deep clean significantly easier.
Conclusion
Learning how to deep clean and organize your kitchen cabinets transforms one of your home’s hardest-working spaces into an efficient, enjoyable environment.
While the initial investment of time and effort is substantial, the daily benefits—reduced stress, faster meal preparation, less food waste, and a more inviting kitchen—make this project invaluable.
Your organized cabinets will serve you well for months, requiring only minor maintenance to preserve their functionality and cleanliness.
Take the first step today, and you’ll wonder why you waited so long to tackle this transformative project.