A beautiful, highly functional kitchen does not require a $10,000 renovation budget. Does cooking dinner feel like a chore? Most standard kitchens lack the necessary counter space and intuitive flow required for stress free cooking.
This leaves you feeling cramped and disorganized. You deserve a space where you can prep meals without moving three appliances just to chop vegetables.
You can fix this problem in a single weekend. I will show you how to construct a sturdy, Human Centric DIY Kitchen Island for under $300. We will use unfinished stock cabinets and natural wood.
This project is perfect if you need budget kitchen island ideas that actually look expensive. You will reclaim your joy of cooking without fighting for counter space.
By the end of this guide, you will have a beautiful and affordable kitchen prep station.
Island Style Customizer
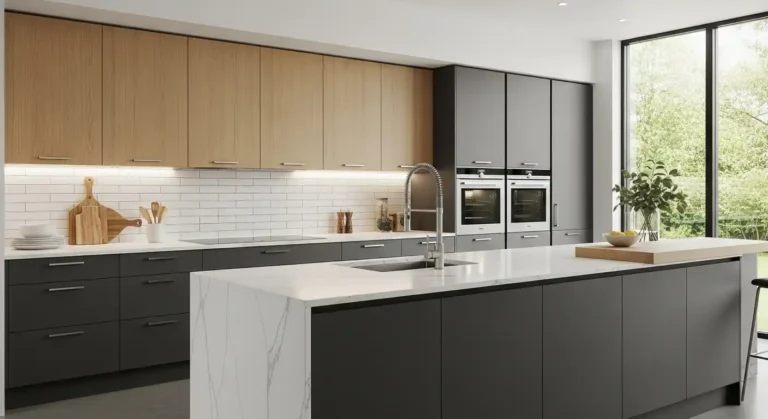
How to Design a Human Centric Kitchen Layout
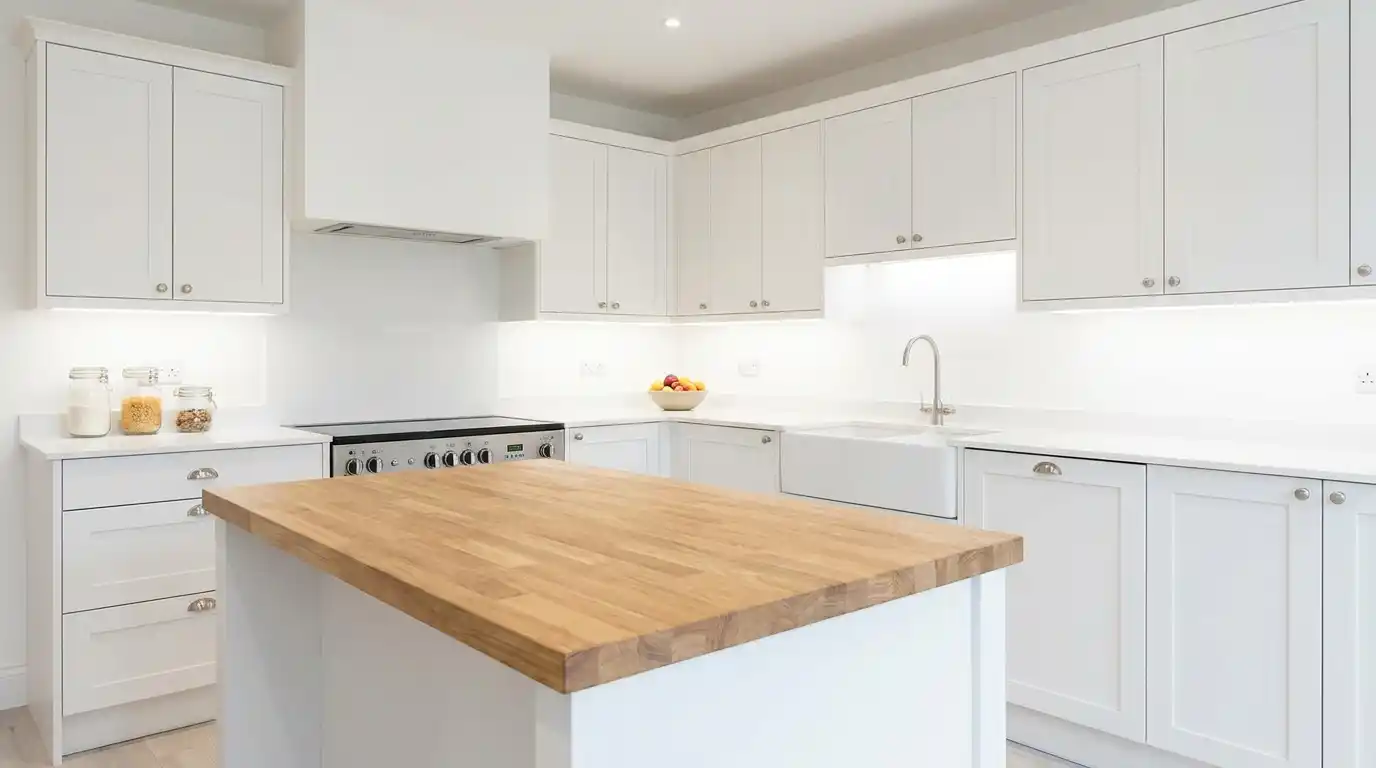
Before you buy a single piece of wood, you need to map your kitchen workflow. A bad layout will make your cooking space worse. You want your new island to improve your daily routine.
Design experts always talk about the kitchen work triangle. This means the path between your sink, stove, and fridge should be clear. Your island should sit naturally within this triangle. You also want to embrace Sensorial Minimalism.
This design style focuses on clean lines and natural textures that feel good to the touch. It keeps your space calm and focused.
You must measure your floor space carefully. Aim for at least 36 inches of clear walkway around all sides. Standard unfinished base cabinets are 34.5 inches tall. When you add a thick butcher block, your final height reaches a comfortable 36 inches.
This is the ideal height for chopping and mixing. Planning these details is the first step in learning how to build a kitchen island that fits your specific kitchen layout.
Pro Tip: Use painter tape on your floor to outline the island size before making any purchases.
The Exact $300 Materials and Tools List
You need the right materials to keep this project affordable. Prices for a full kitchen remodel average over $25,000 in 2026.
A DIY upgrade is a massive money saver. Here is the exact cost breakdown for your budget kitchen island ideas.
- Unfinished stock base cabinet: roughly $140
- Four foot unfinished butcher block: roughly $110
- Paint, screws, and hardware: roughly $50
These are current 2026 average prices from major hardware stores like Home Depot or Lowe’s. The math really does work. You will also need a few basic tools.
- Power drill
- Kreg Jig pocket hole tool
- Level
- Wood glue
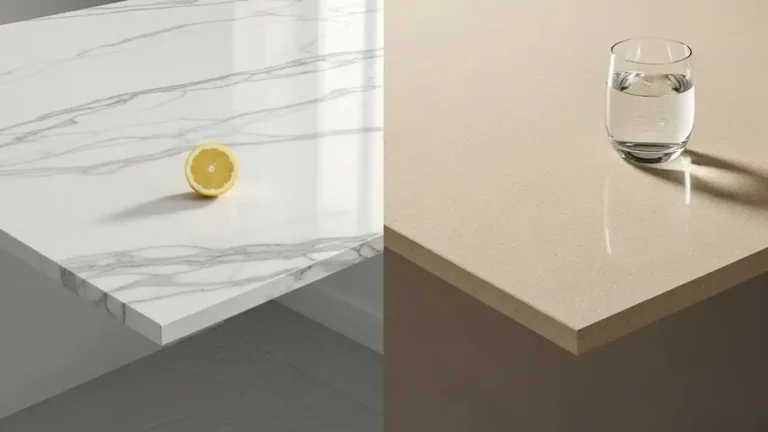
You want to choose high quality materials. The smooth and warm grain of the butcher block makes this affordable kitchen prep station feel premium.
Pro Tip: The Kreg Jig is an amazing tool for hiding screws. Check out our recommended tool list below to grab one.
3 Steps to Assemble Your Stock Cabinet Island Base
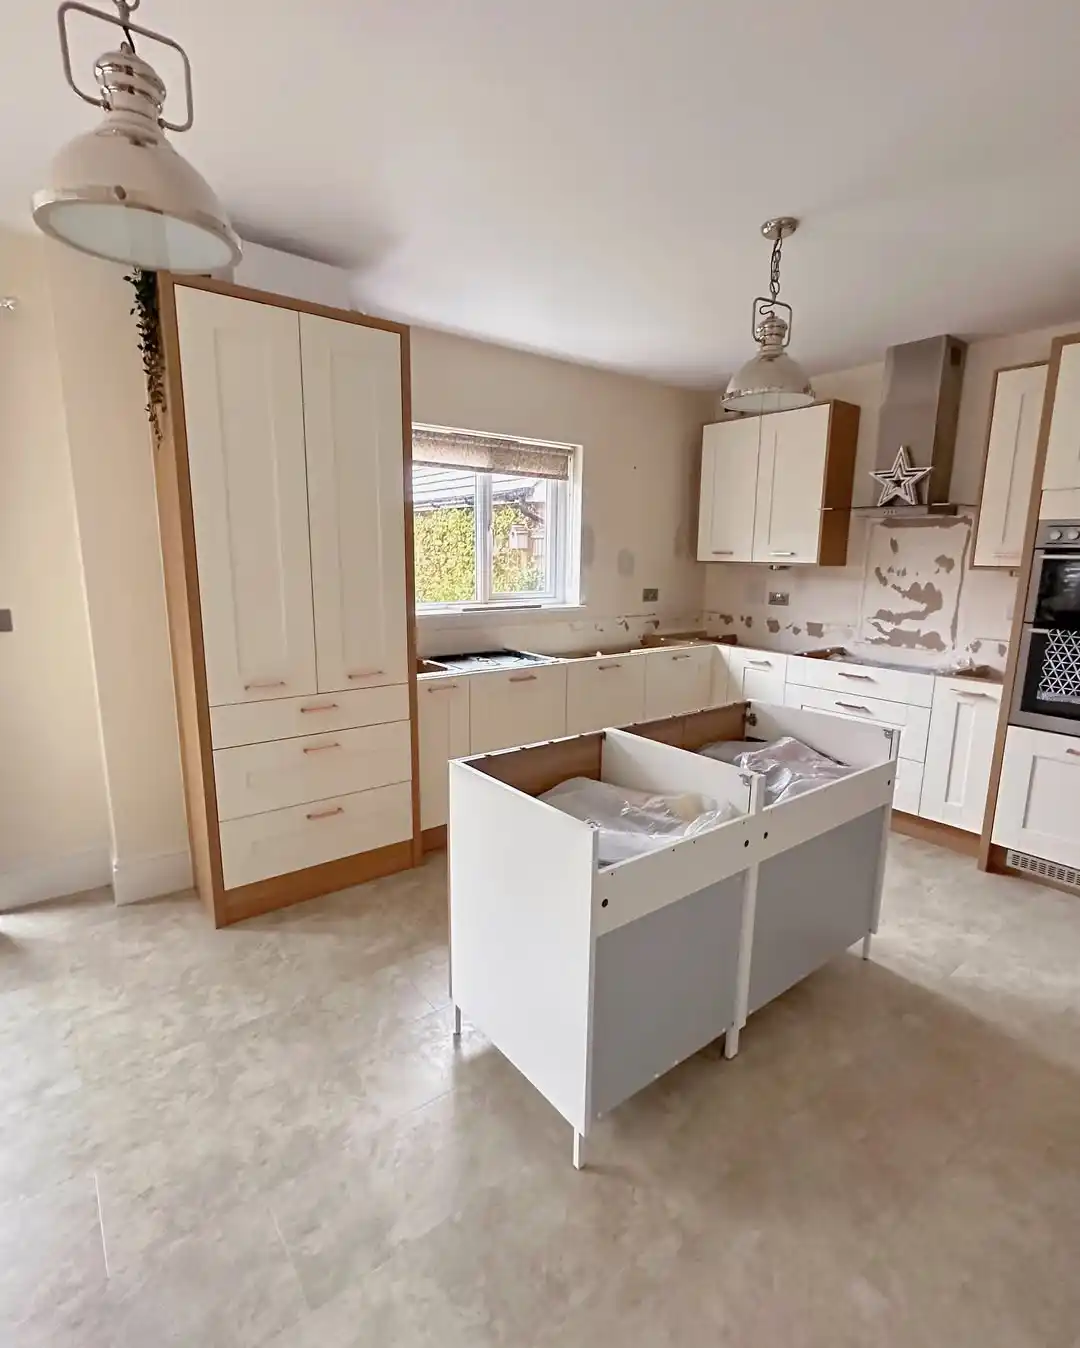
Building a solid foundation is crucial. You want your new prep space to be sturdy. Follow these steps to assemble your stock cabinet island.
- Sand the wood lightly. Unfinished cabinets need a quick sanding for a smooth finish.
- Paint the cabinet. Choose a calming and minimalist color that fits your home. Let it dry completely.
- Cover the back. The back of a base cabinet is usually unfinished. Add a thin MDF panel to make it look complete.
Many people want a mobile prep space. You can easily install heavy duty caster wheels to the bottom. I recommend buying 3 inch locking polyurethane casters.
Make sure they can hold at least 300 pounds. This ensures complete stability while you chop and mix. The wheels make your DIY Kitchen Island incredibly versatile.
Pro Tip: Always pre drill your holes to prevent the cabinet frame from splitting.
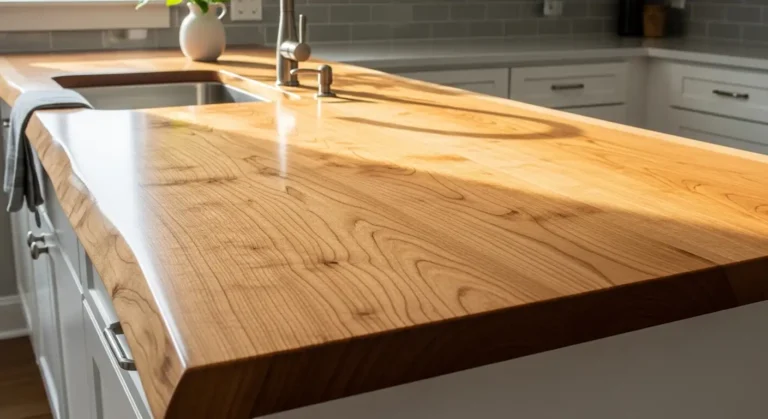
How to Attach a Butcher Block Top for a Clean Look
Once the paint is fully cured, it is time to focus on the countertop. The wood top is the main attraction.
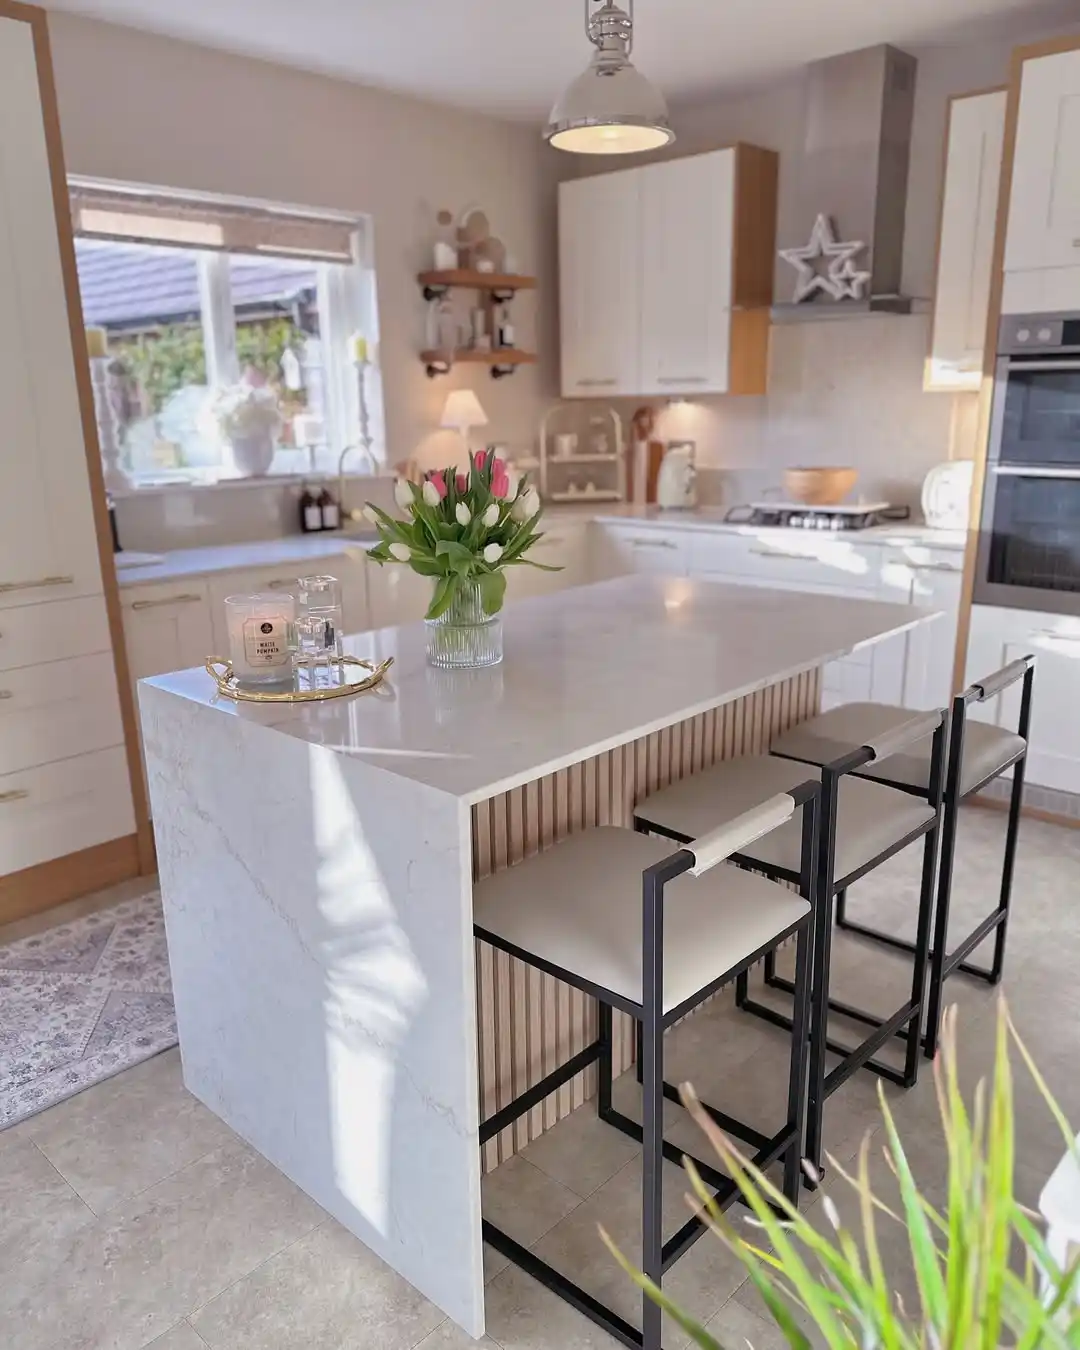
First, center the butcher block over your painted cabinet. You want to create a slight overhang on all sides. This gives it a streamlined look. It also gives you room for a small breakfast seating area.
Next, secure the top from the inside of the cabinet. Use L brackets or pocket hole screws. This keeps the exterior completely smooth and hardware free. You will not see any ugly screws from the outside.
Finally, treat the wood with a food safe mineral oil. This brings out the natural grain and protects the surface. Apply a generous coat and let it soak in for 20 minutes.
Wipe off the excess. You should reapply this oil once a month to keep the wood healthy. This is the secret to knowing how to build a kitchen island that lasts for years.
Pro Tip: Never use cooking oils on your butcher block top because they can spoil.
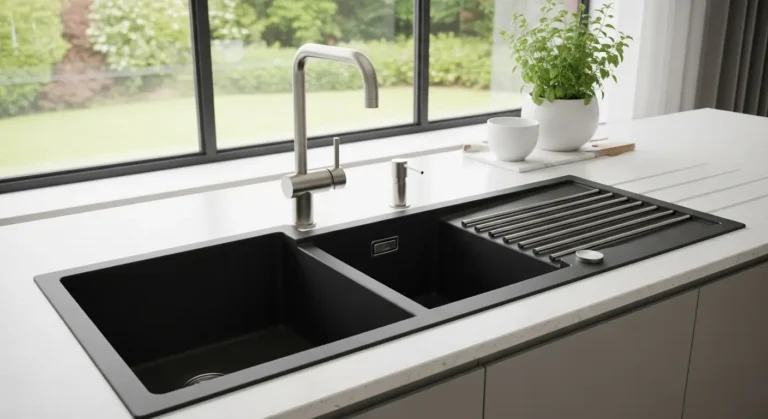
3 Ways to Maximize Kitchen Organization Without Clutter
A clear counter brings peace to your mind. Cluttered counters cause stress. Your new affordable kitchen prep station should hide the mess.
Keep the exterior visually clean by hiding appliances inside the cabinet. You can install slide out drawers to hold heavy pots and pans.
A hidden trash and recycling bin system is another amazing upgrade. It removes ugly plastic bins from your floor plan.
You can also set up a dedicated baking center inside the shelving. Add vertical dividers for baking sheets. Create a spice organization zone.
These functional upgrades make baking cookies with your family so much easier. Hidden storage has huge psychological benefits.
It maintains a peaceful and uncluttered environment. Smart kitchen organization makes cooking fun again.
Pro Tip: Measure your tallest appliances before installing any interior shelves.
Conclusion
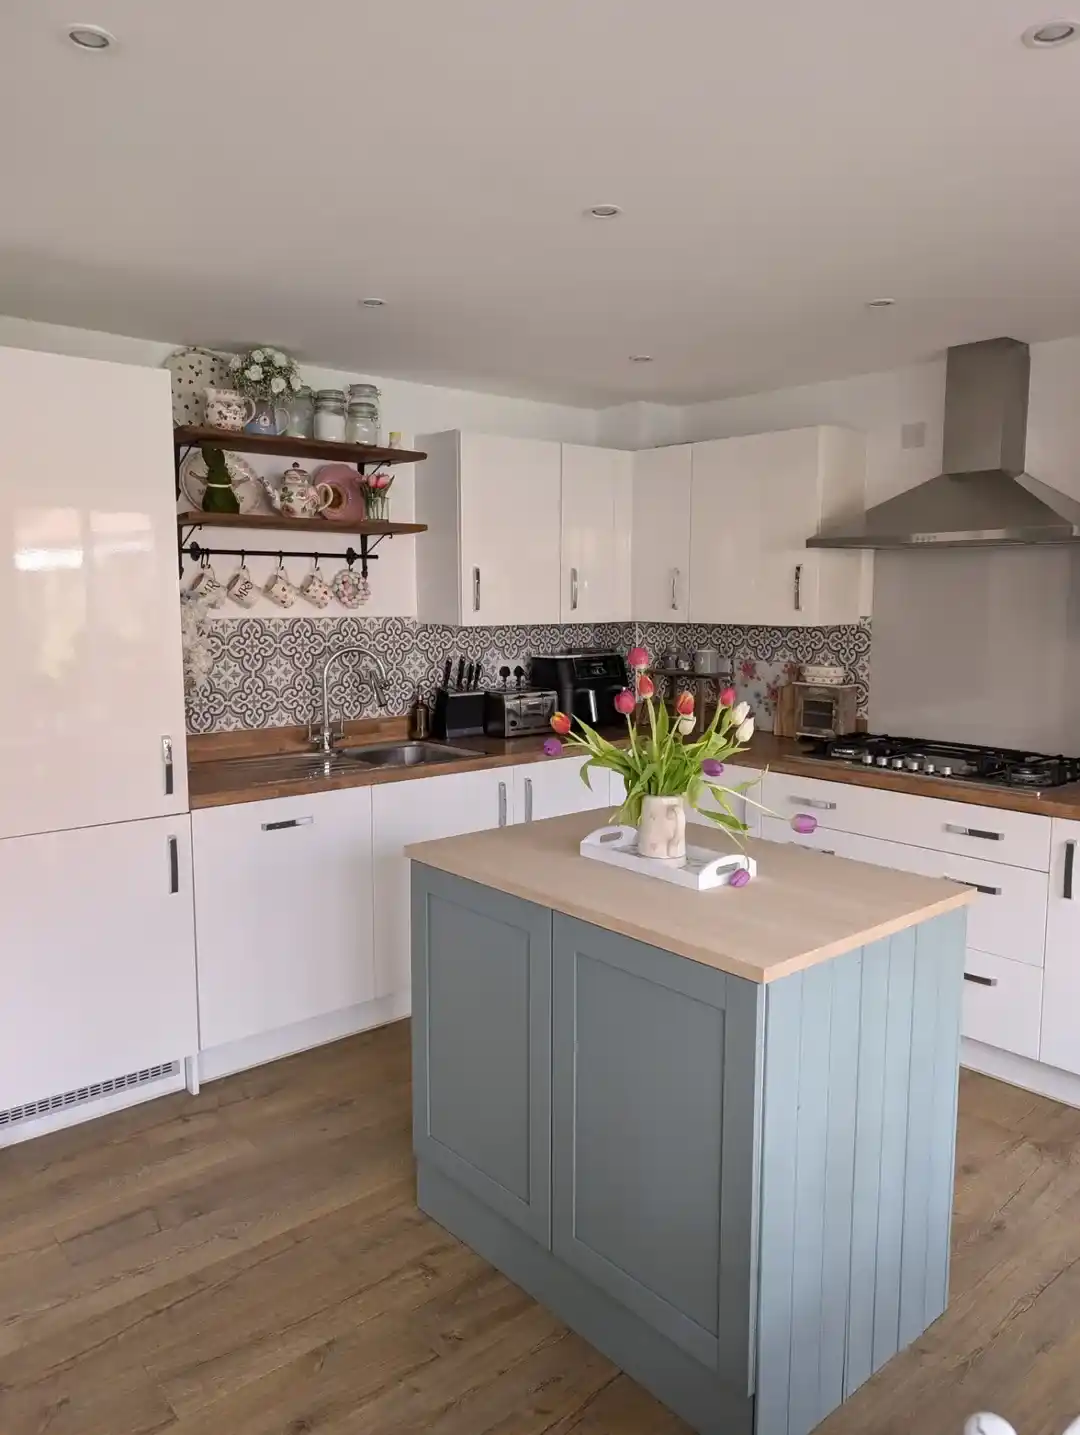
Building a premium feeling kitchen centerpiece is completely achievable.
You can finish this project in a single weekend for under $300. You now have the exact blueprint to create a beautiful and organized space.
Are you ready to transform your cooking area? Grab your drill and head to the hardware store. I would love to see your finished projects.
Start planning your new DIY Kitchen Island today.